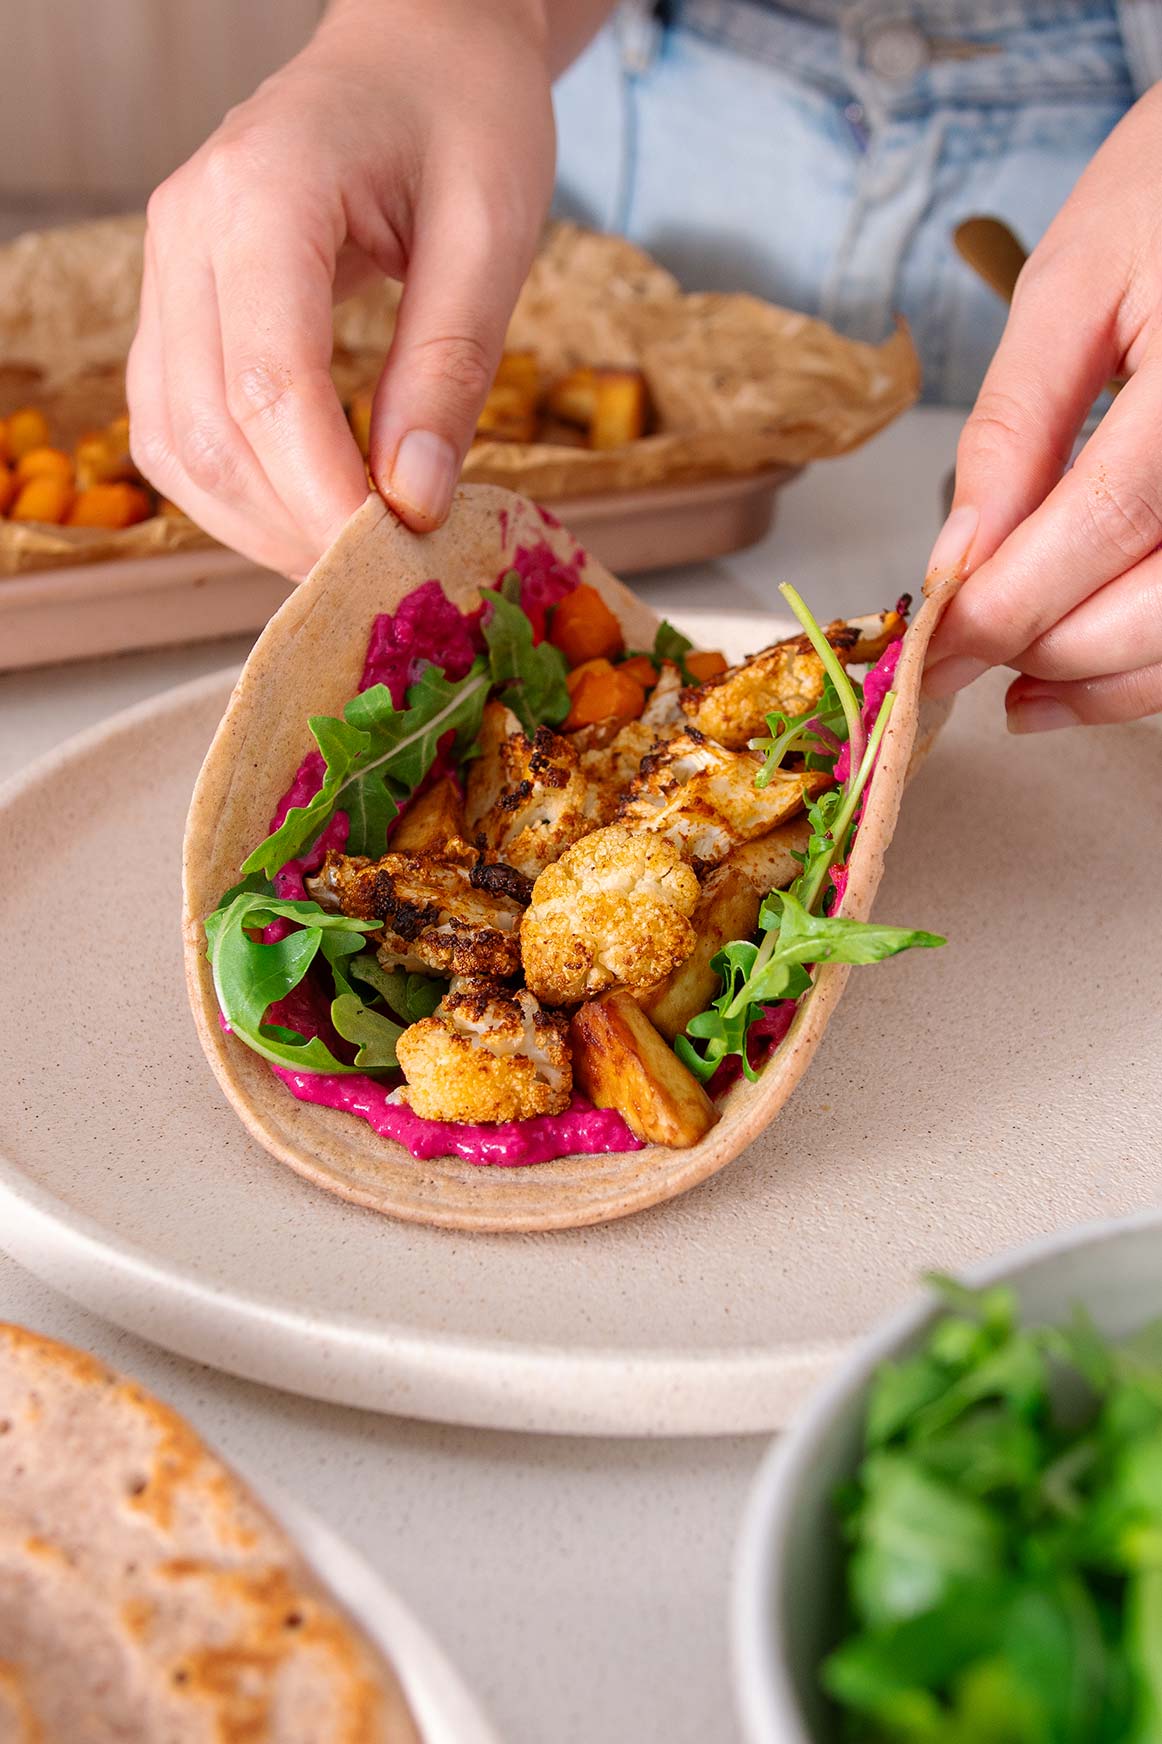
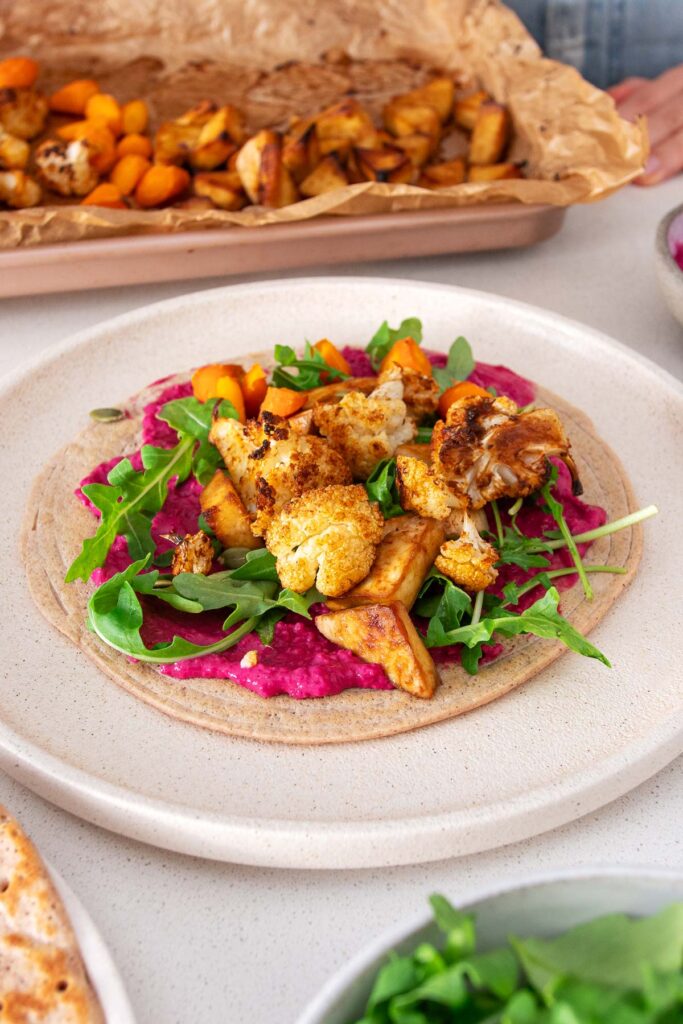
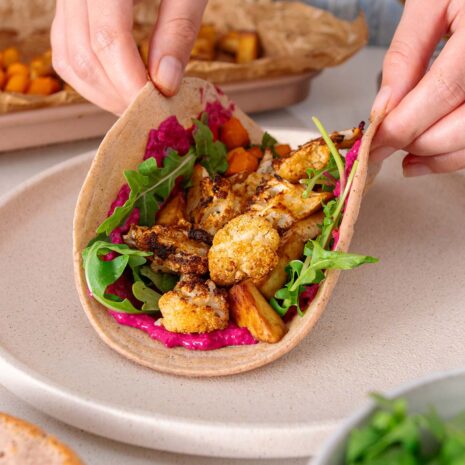
These 2-Ingredient Quinoa-Red Lentil Wraps are my favorite ones yet! They are high protein (each wrap contains 10 g of protein!), naturally gluten-free, and budget-friendly. The combo of quinoa and lentils gives a very nice and soft texture, and nutrition-wise, I love that they mix whole grains and legumes. It makes it super quick and easy to make a complete and balanced meal, as it can be as easy as just topping it with your go-to dip (I suggest my beetroot hummus) and a few veggies.
My number one tip to make these wraps is to use a good nonstick pan. Learning to make crêpes (a very similar technique to making these wraps) is the first recipe every French child learns. Every house will have THE crepe pan, reserved only for crepes, to ensure it remains pristine. Although I consider myself a crepe master at this stage, I remember a time in college when I attempted to show off my crepe skills to impress my friends, but all I had was a regular pan that was lying around. And, well… it was a complete disaster! My friends never let me hear the end of it, and it almost felt like I was bringing shame to my entire family.
So please take it from me; a good non-stick pan is key!
Why This Recipe Works
- Simple Everyday Ingredients: If you’re already following a plant-based diet, red lentils and quinoa are most likely in your pantry already.
- Nutrient-Rich: Packed with protein, fiber, and essential nutrients.
- Quick & Easy: Simple steps, ready in no time.
- Versatile: Customize with your favorite spices and toppings.
- Great For Everyone: Perfect for plant-based, egg and dairy-free, and gluten-free diets.
Ingredient Notes
- Red Lentils: A great budget-friendly source of protein and fiber, easy to digest.
- Quinoa: A whole grain, rich in essential amino acids and naturally gluten-free.
- Olive Oil: Optional, but adds a nice flavor and helps in cooking.
How To Cook Your Quinoa-Red Lentil Wraps To Perfection
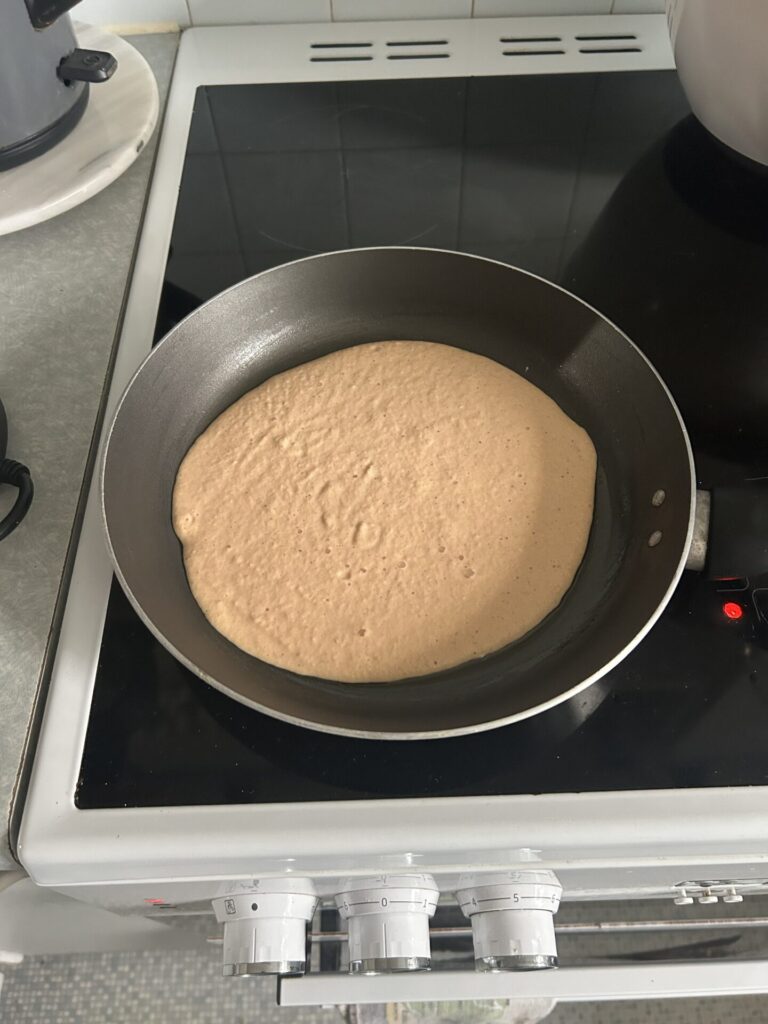
- Use a good non-stick pan. This will not work with a sticky or cast iron pan.
- If you notice your wrap is sticking to your pan, use a little bit of oil. Ideally, brush the oil onto the pan, or if you do not have a brush, pour a little bit on a paper towel and gently rub the pan (be careful not to burn yourself) with it.
- Wait until the pan and oil are hot before pouring in the batter. The batter should sizzle as it hits the pan.
- Make sure to spread the wrap using the back of a spoon or ladle for consistency.
- Do not flip too early; wait until it’s thoroughly cooked before flipping. You will notice a change in color and texture. It will look darker, and the batter should no longer look wet. This is very important. Otherwise, the wrap will likely break.
- Only flip wraps once. Slightly lift the wrap with a spatula to check it is cooked underneath before flipping. Gently move the spatula around underneath the wrap before flipping to make sure there is no sticky point.
Step-By-Step Instructions
Rinse the lentils and quinoa thoroughly until the water runs clear to remove bitterness. Soak them in a large volume of water for 2 to 7 hours, then drain and rinse again. Blend with fresh cold water and salt or spices until smooth. Heat a non-stick pan with a bit of oil, pour a quarter of the batter, and flatten. Cook for 2 minutes, flip, and cook for another 2 minutes until the wrap is perfectly golden brown.
Variations and Tips
- For a salt-free option, swap for your spices of choice. Some spices that would be a lovely addition are cumin, curry powder, garam masala, smoked paprika, garlic powder, onion powder, or turmeric (ideally combined with black pepper to enhance absorption).
- My go-to filling for these Quinoa & Red Lentil Wraps is a delicious combination of beetroot hummus and a mix of roasted and fresh veggies such as rocket, tomato, shredded cabbage, or cucumber. Check out our insanely delicious Beetroot Hummus recipe.
- Taco Tuesday: make smaller wraps to use as high-protein taco shells. It’s a fun alternative to corn or flour tortillas. Perfect to use with my Black Bean Tacos with Avocado Cream or Easy Tofu Tacos with Mango Salsa.
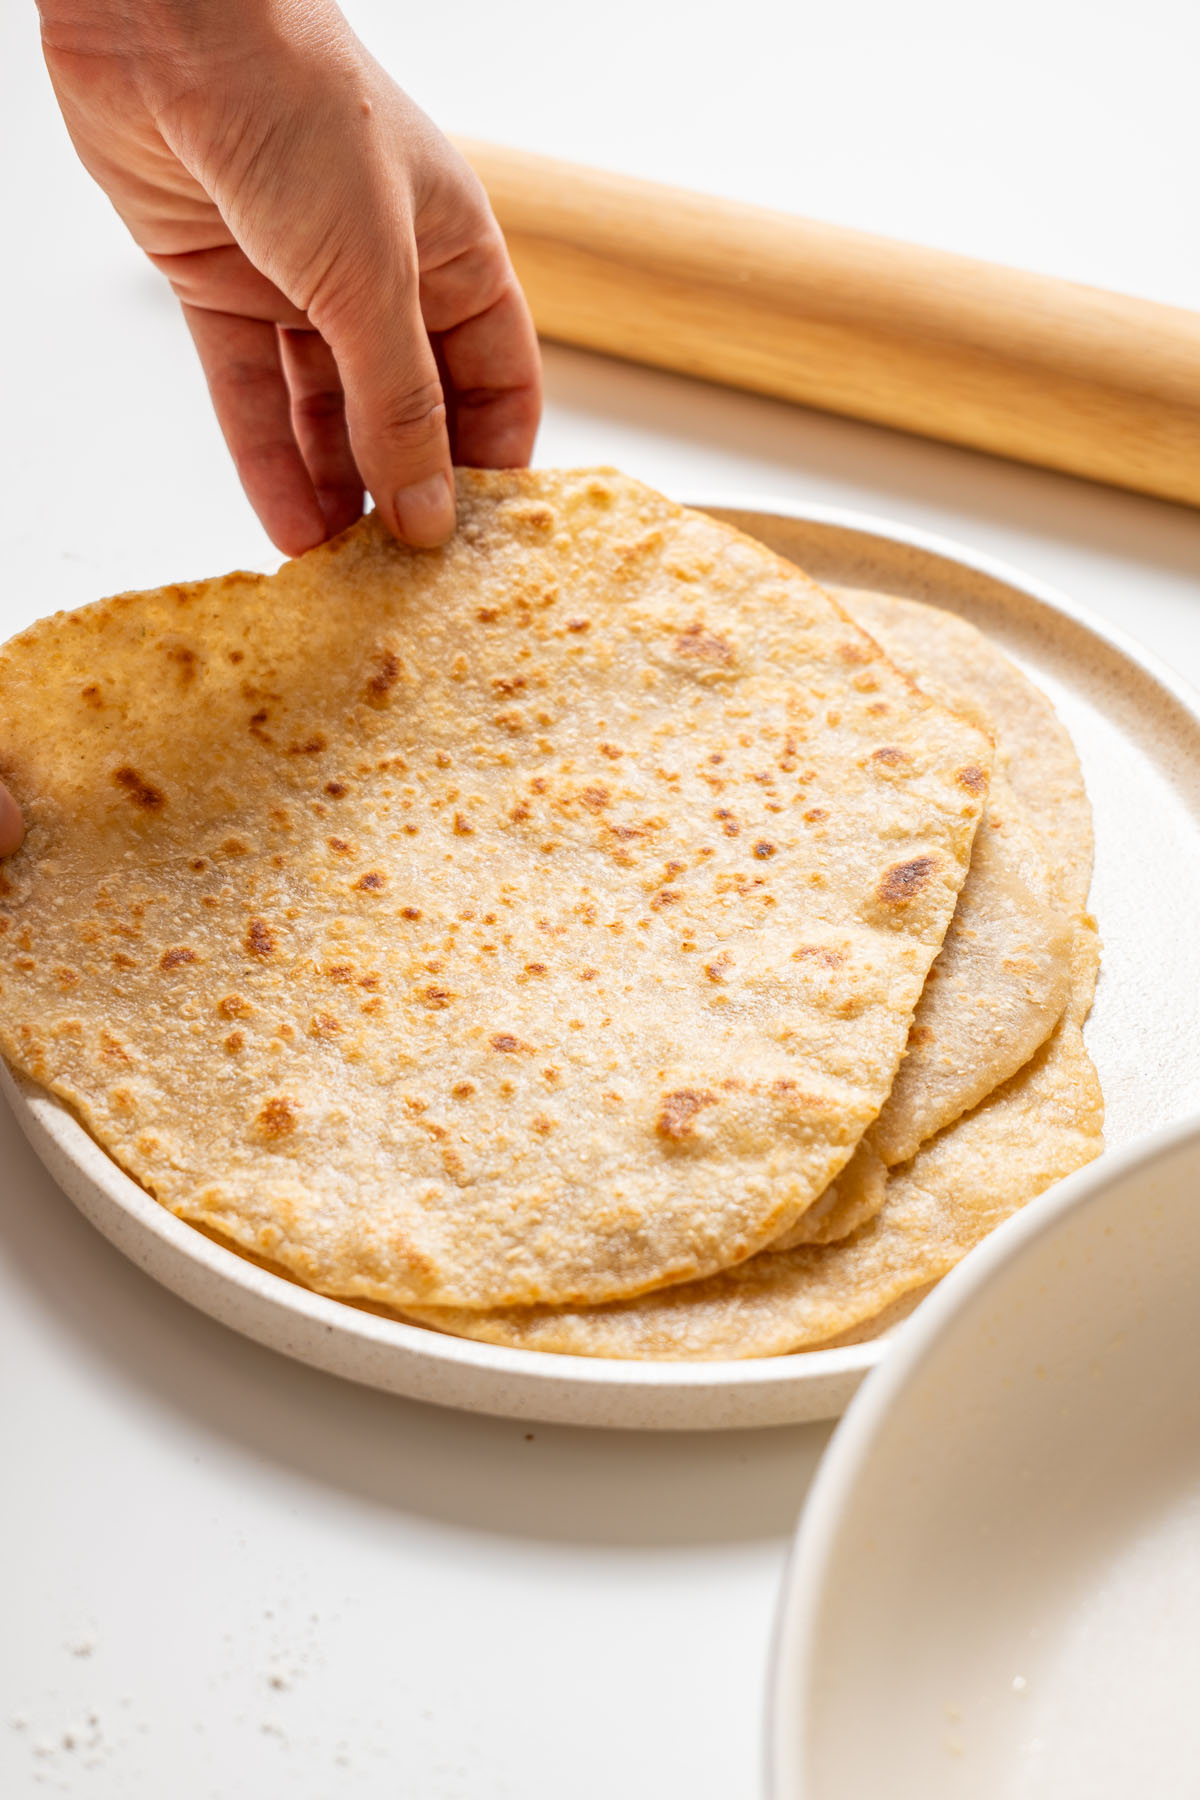
- Storage: Store the leftovers covered in the fridge for up to 4 days. I usually put them on a large plate covered with a clean kitchen cloth. They will get softer; you can reheat them in a very hot pan or microwave if you’d like.
- No quinoa? Check out our previously shared and super popular Dosa (Red Lentil Wraps) recipe, which only requires split red lentils.
- No lentils? Check out our Turmeric Quinoa Wraps recipe.
Why You’ll Love These 2-Ingredient Quinoa-Red Lentil Wraps TLDR
- Nutritious
- Flavorful
- Versatile
- Quick
- Delicious

2-Ingredient Quinoa-Red Lentil Wraps (Tortillas)
Equipment
- 1 Blender
Ingredients
- ¾ cup (135 g) split red lentils - dry
- ¼ cup (42 g) quinoa - dry
- 1 cup (240 ml) water
- ½ tsp (3 g) sea salt flakes - or add spices of choice
- 1 tsp (5 ml) olive oil - optional: see notes
Instructions
- Rinse the split red lentils and quinoa thoroughly until the water runs clear. This is an important step, as quinoa can otherwise be quite bitter.
- Soak in a large volume of water for 2 hours minimum to 7 hours (recommended). Drain, and rinse again.
- Blend with 1 cup of fresh water and salt (or spices of choice) until perfectly smooth.
- Heat up a non-stick pan on medium heat and brush ¼ tsp of oil if using. Pour ¼ of the batter and flatten it with the back of a spoon or ladle. Cook for 2 minutes until the top side of the wrap looks dry. Lift slightly to check that the underside appears to have cooked properly, and make sure there are no sticky points, by gently moving the wrap with the spatula. Then flip, cooking for another 2 minutes until golden brown.
- Repeat with the rest of the batter, add your favorite toppings, and enjoy!
Notes
- Oil-Free Option: make sure you have a very good non-stick pan.
- Salt-free option: swap for your spices of choice.
Tips to cook your wraps to perfection:
- Use a good non-stick pan
- If you notice your wrap is sticking to your pan, use a little bit of oil. Ideally, brush the oil onto the pan, or if you do not have a brush, pour a little bit on a paper towel and gently rub the pan (be careful not to burn yourself) with it.
- Wait until the pan and oil are hot before pouring in the batter. The batter should sizzle as it hits the pan.
- Only flip wraps once. Slightly lift the wrap to check it is cooked underneath before flipping, and gently move it around with the spatula to make sure there are no sticky spots.
Video
FAQ
Absolutely, you will need to use a good non-stick pan.
The batter should be perfectly smooth, with no bits and pieces left in it.
Definitely, feel free to experiment with flavors
They are versatile and can be used any way you usually use wraps. Fill them up with your favorite dip or sauce, and veggies. You could use them as I did in the recipe video with beetroot hummus, roasted cauliflower, peppers, carrots, tofu, and fresh greens, or to make my Ceasar Salad Wraps. You could even make them smaller to use as taco shells.





What kind of non sticky pan are you using? Mine always stick 😩 thanks for the great recipe!!
Oh no, I’m sorry to hear that, Suzanne! I have Greenpan pans; they are ceramic non-stick. Did you spot the tips above the recipe? I think this might be helpful. Sometimes the temperature of the pan can really impact it, I would also recommend using oil if needed if your pan sticks.
Thank you for this lovely recipe! I went with maple syrup as a sweet alternative and it worked well! Many grateful thanks with good wishes. :0)
Hey Jacks, I love this idea. I might have to try it myself. Thank you so much for sharing 💚
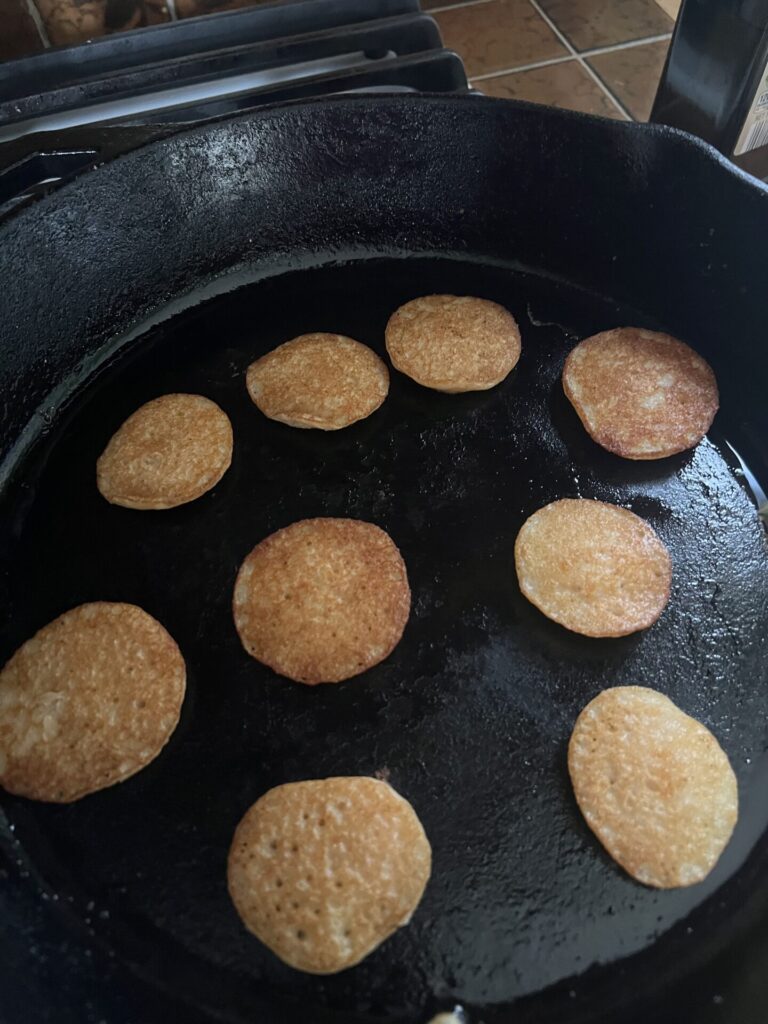
I had trouble with the batter sticking to my cast iron pan. So I experimented with size and also with adding a bit of oil to the batter and more oil in the pan. Less healthy w/ the added oil, but it made these very tasty crispy fritters. They taste like a potato pancake or hash brown to me.
Wow, I’m so impressed you could make this work with a cast iron pan! Thank you so much for sharing your tips, Shannon! So helpful! 💚
Thanks, Sarah! I also experimented with baking in oven on parchment paper. Which worked great. I flipped once but it wasn’t really necessary.
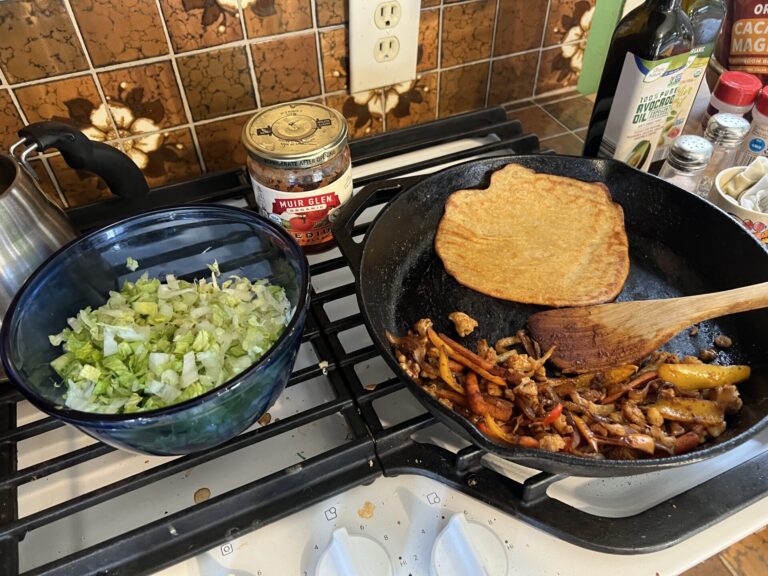
Here’s an after shot of an – oven baked one next to the toppings.
I went the vegan fajita route with the sauteed peppers and onions w/ some walnuts & fajita seasoning.
That looks absolutely delicious, I feel like fajitas now 😍. I love the idea of baking it as well. I don’t know if you’ve seen, but I have red lentil and quinoa pizza dough that is super similar, and that you can bake in the oven with all your favorite toppings. I think you might like it 🙂
https://plantbaes.com/gf-pizza-crust/
Can you freeze them?
My family loved this!
I’m so happy to hear that! Thank you for sharing Anita 💚