
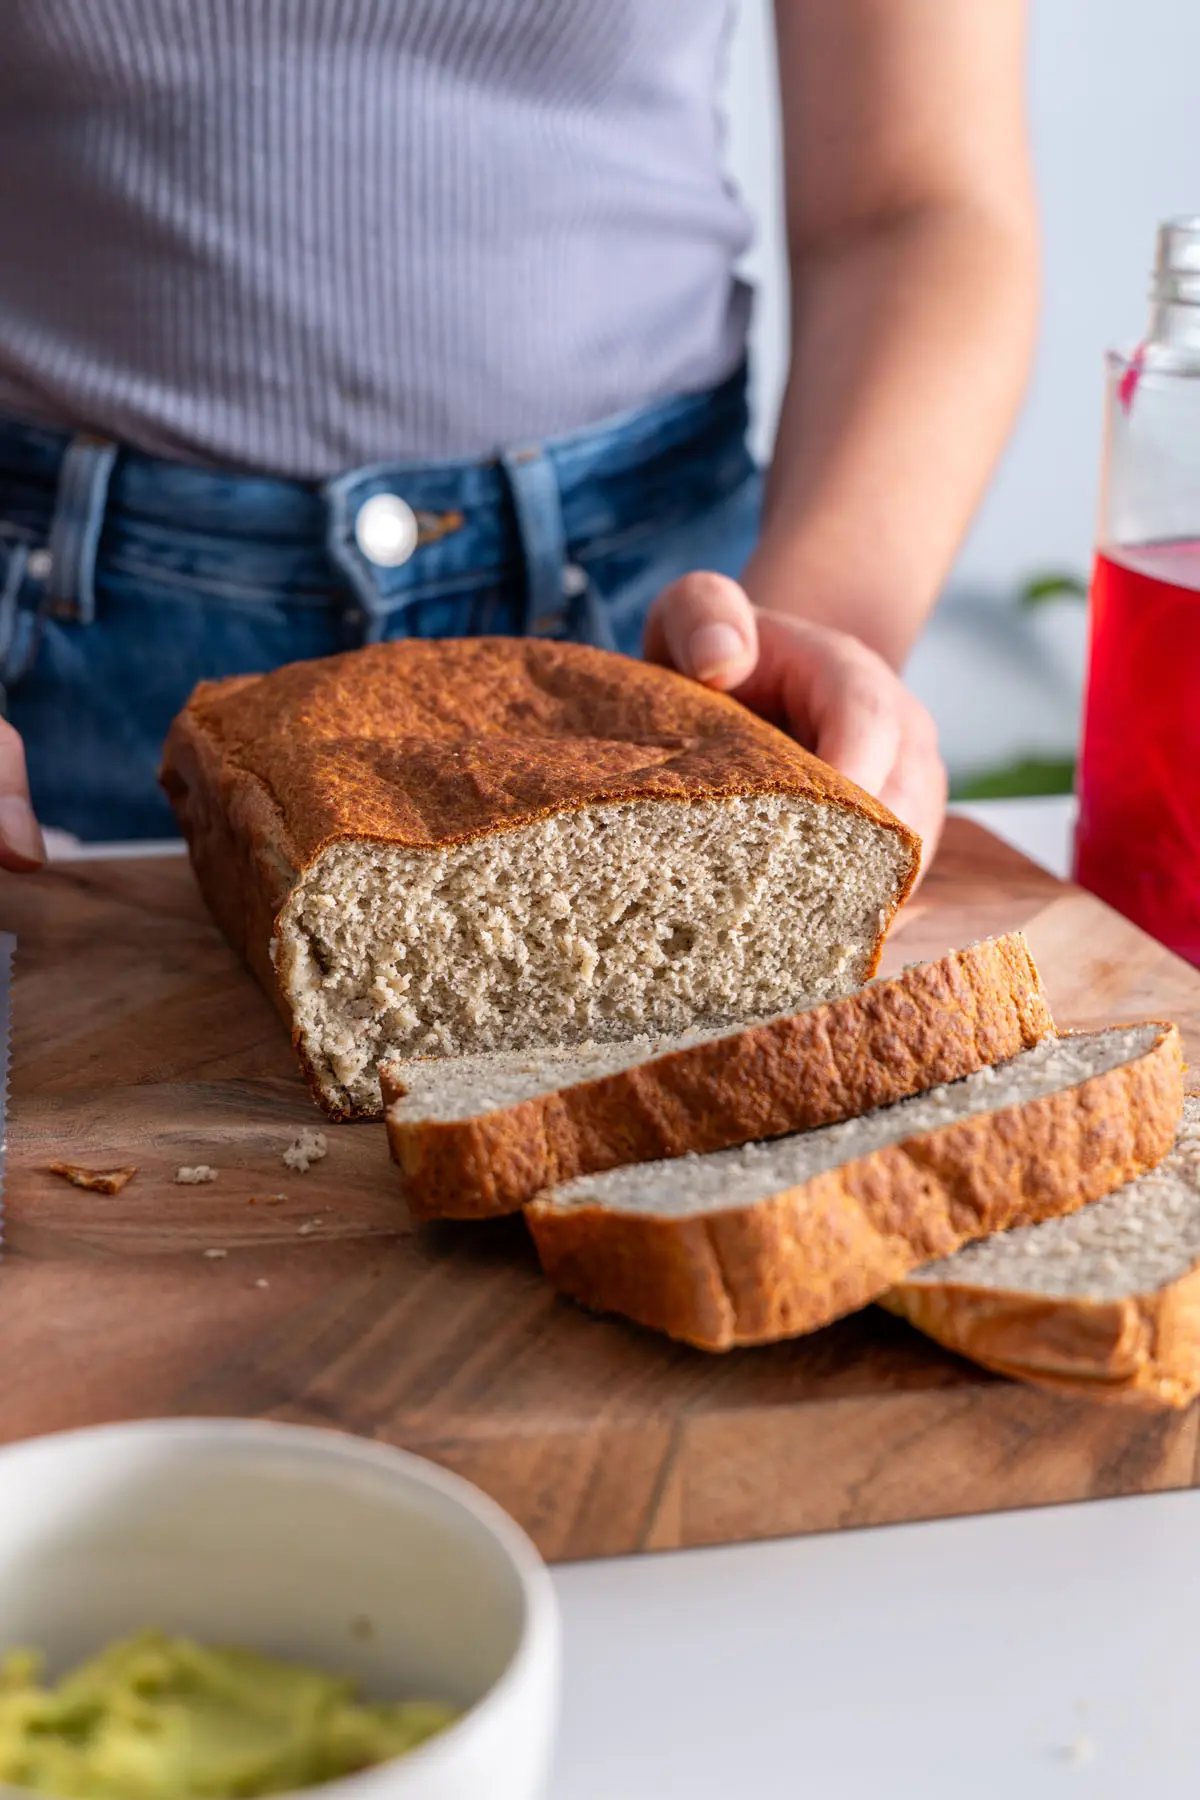
I’m really excited to share this Red Lentil Quinoa Bread recipe with you! After the massive success of our One-Ingredient GF Buckwheat Bread, so many of you have been asking me for more bread alternatives. After testing this new bread recipe over a dozen times, I’m so happy to say it is absolutely amazing! It has quickly become a staple in our kitchen because it’s effortless to make, uses simple ingredients, and is the perfect base for protein and fiber-packed sandwiches. Good quality gluten-free bread can be pretty expensive, too… where I live, it’s usually around $10 to $15 a loaf, but this budget-friendly version comes to around $3.70 AUD ($2.50 USD)!
Red lentils, quinoa, and yogurt are staples in many homes. If you’ve done any gluten-free baking before, I bet you have some psyllium husk in your pantry. If you’re unfamiliar with it, you’ll be happy to know that it’s widely available, budget-friendly, and has a long shelf life. Psyllium husk is a key ingredient in making gluten-free bread more bouncy and elastic, qualities usually provided by gluten.
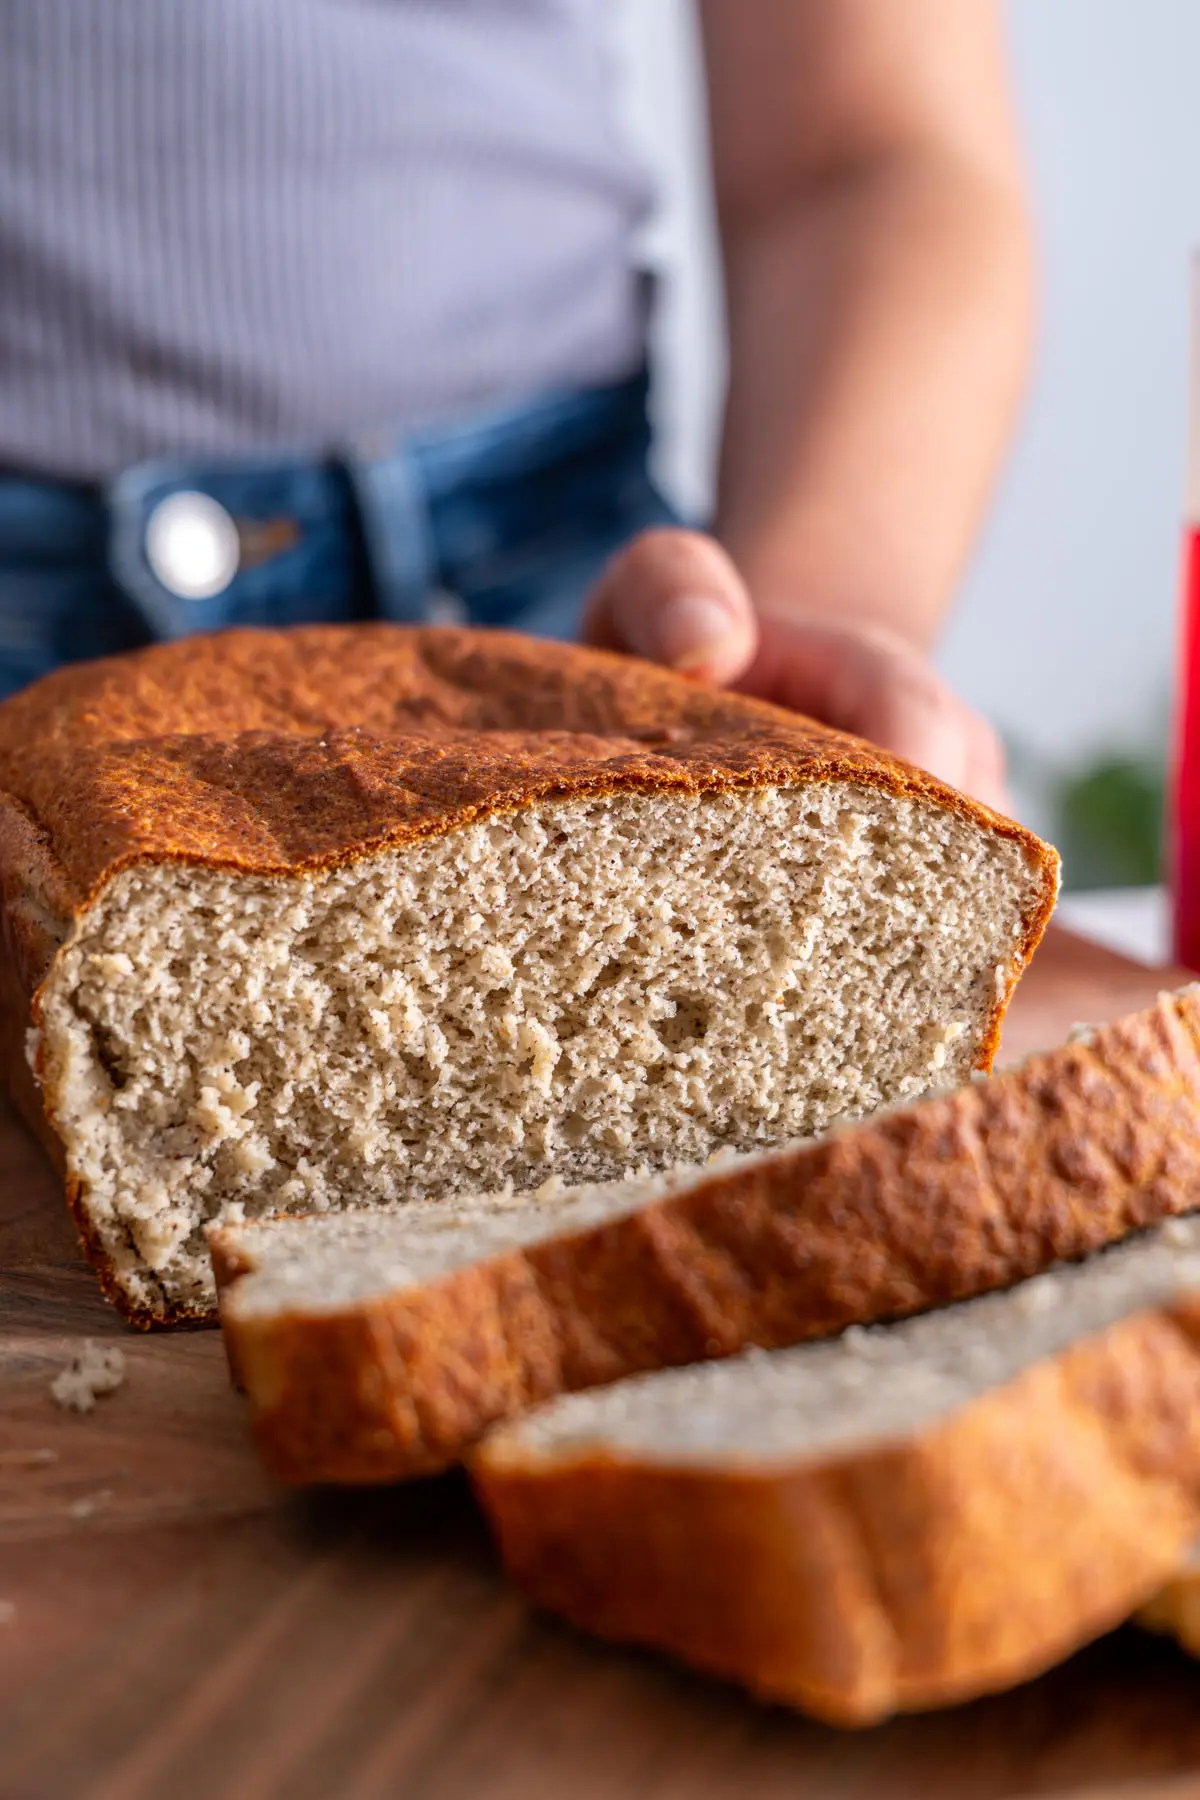
After a quick blend, short rise, and bake, the result is a soft, fluffy, and light oil-free bread. I was pleasantly surprised to discover that the lentils are completely undetectable in the flavor. This bread is perfect for toasts and sandwiches, and I suspect it will have the ideal texture for gluten-free vegan French toast. Something I’ll definitely have to try soon! If you love this one, my easiest red lentil bread and gluten-free seeded bread are next on your bake list.
Why I Love This Recipe
- High in protein: from the combination of red lentils and quinoa.
- Gluten-free: making it a great option for those avoiding wheat.
- Rich in fiber: promoting healthy digestion.
- Oil-Free: perfect for those following a whole food plant-based diet (WFPB).
- Simple ingredients: that are easy to find and affordable.
- Quick to make: once you’ve soaked the red lentils and quinoa, the bread takes less than 2 hours before being ready to eat.
- Straightforward: no fermentation or complicated steps are required; this recipe is foolproof!!

Ingredient Notes
- Red lentils: These split lentils cook quickly and blend smoothly. They’re a great source of plant-based protein and fiber. Lentils are rich in minerals, including iron; two slices of this bread bring 4 mg of iron, making it a great start to an iron-packed sandwich.
- Quinoa: A perfect gluten-free grain that adds texture and boosts the protein content. Always rinse quinoa thoroughly before cooking to remove the bitter coating.
- Instant yeast: Helps the bread rise.
- Dairy-free yogurt: This adds moisture and binds the dough together. If preferred, you can substitute with olive oil, which will yield a slightly different, slightly more moist texture.
- Psyllium husk is essential for keeping the bread moist and adding fiber. It acts as a binder in place of gluten.
How to Make This Recipe (Summary)
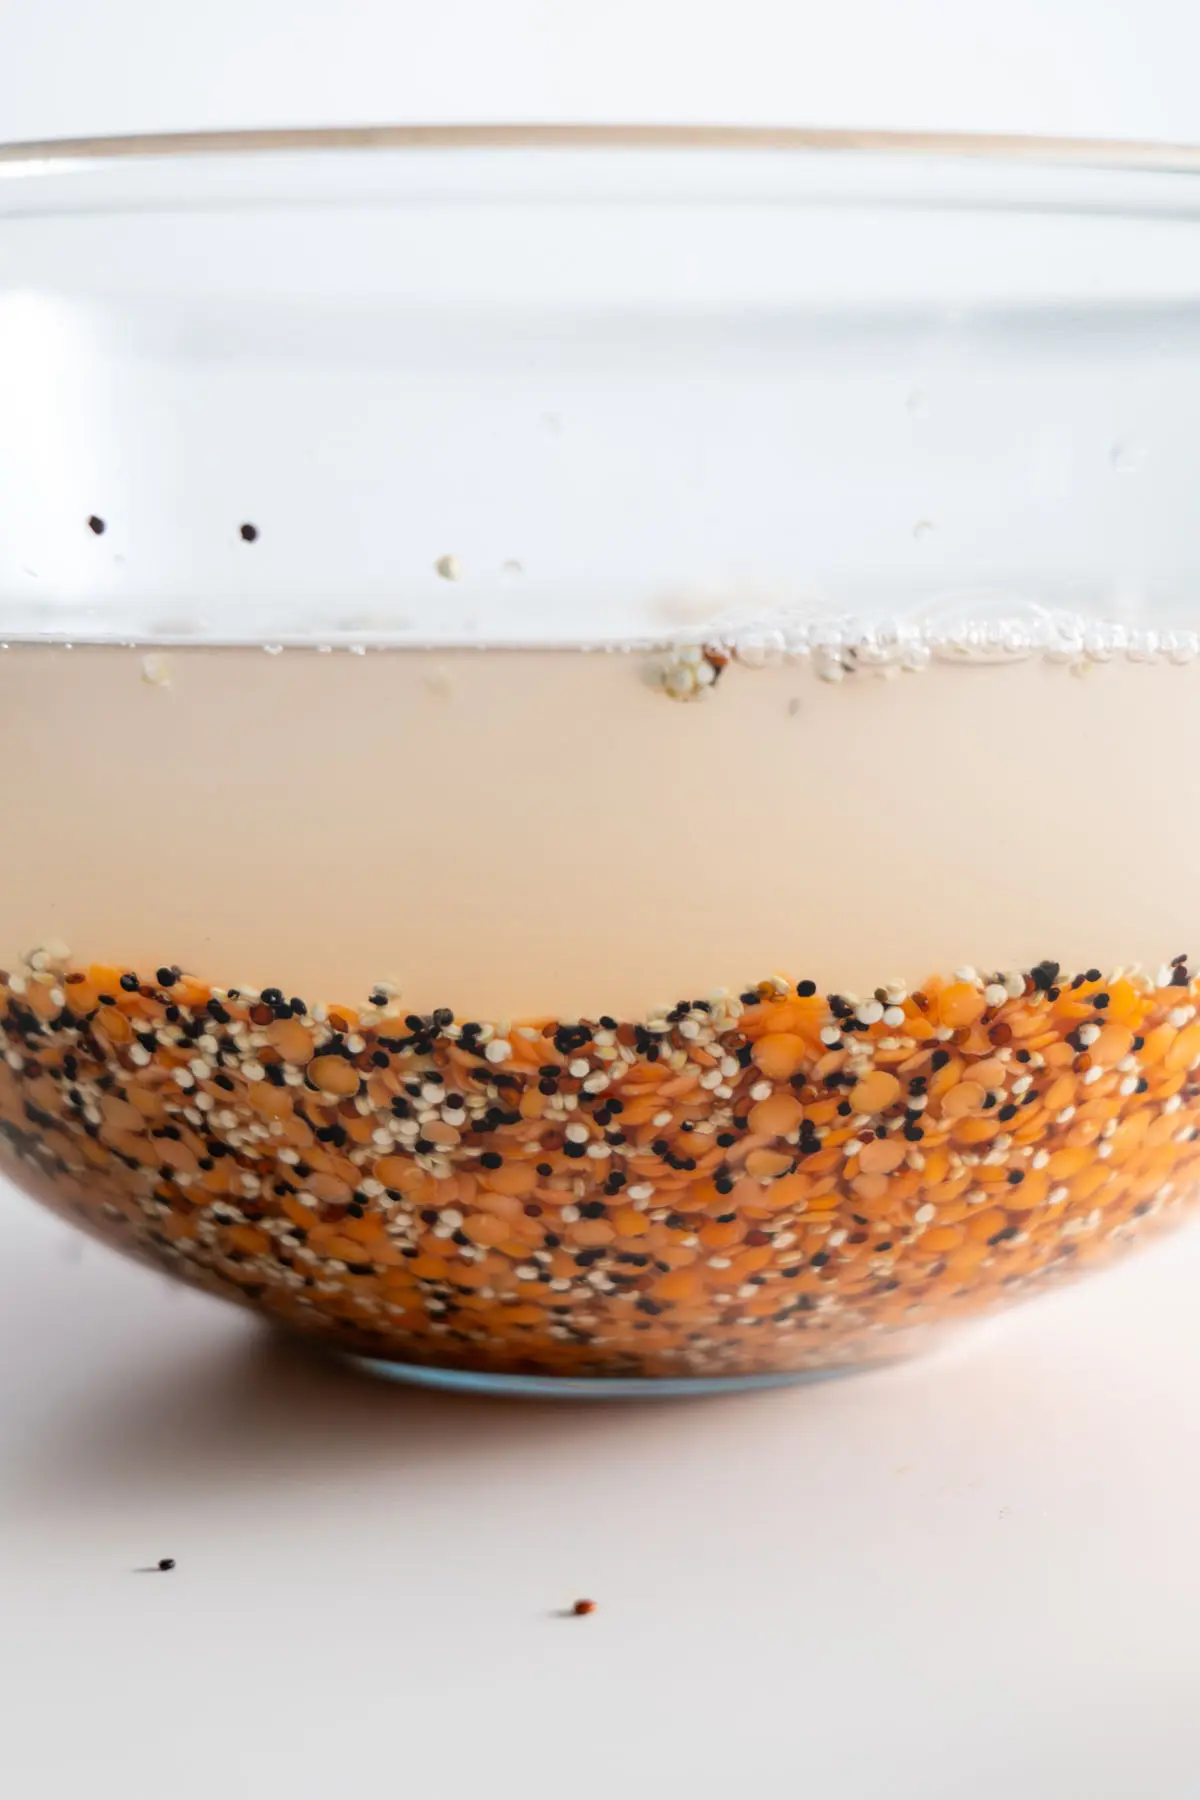
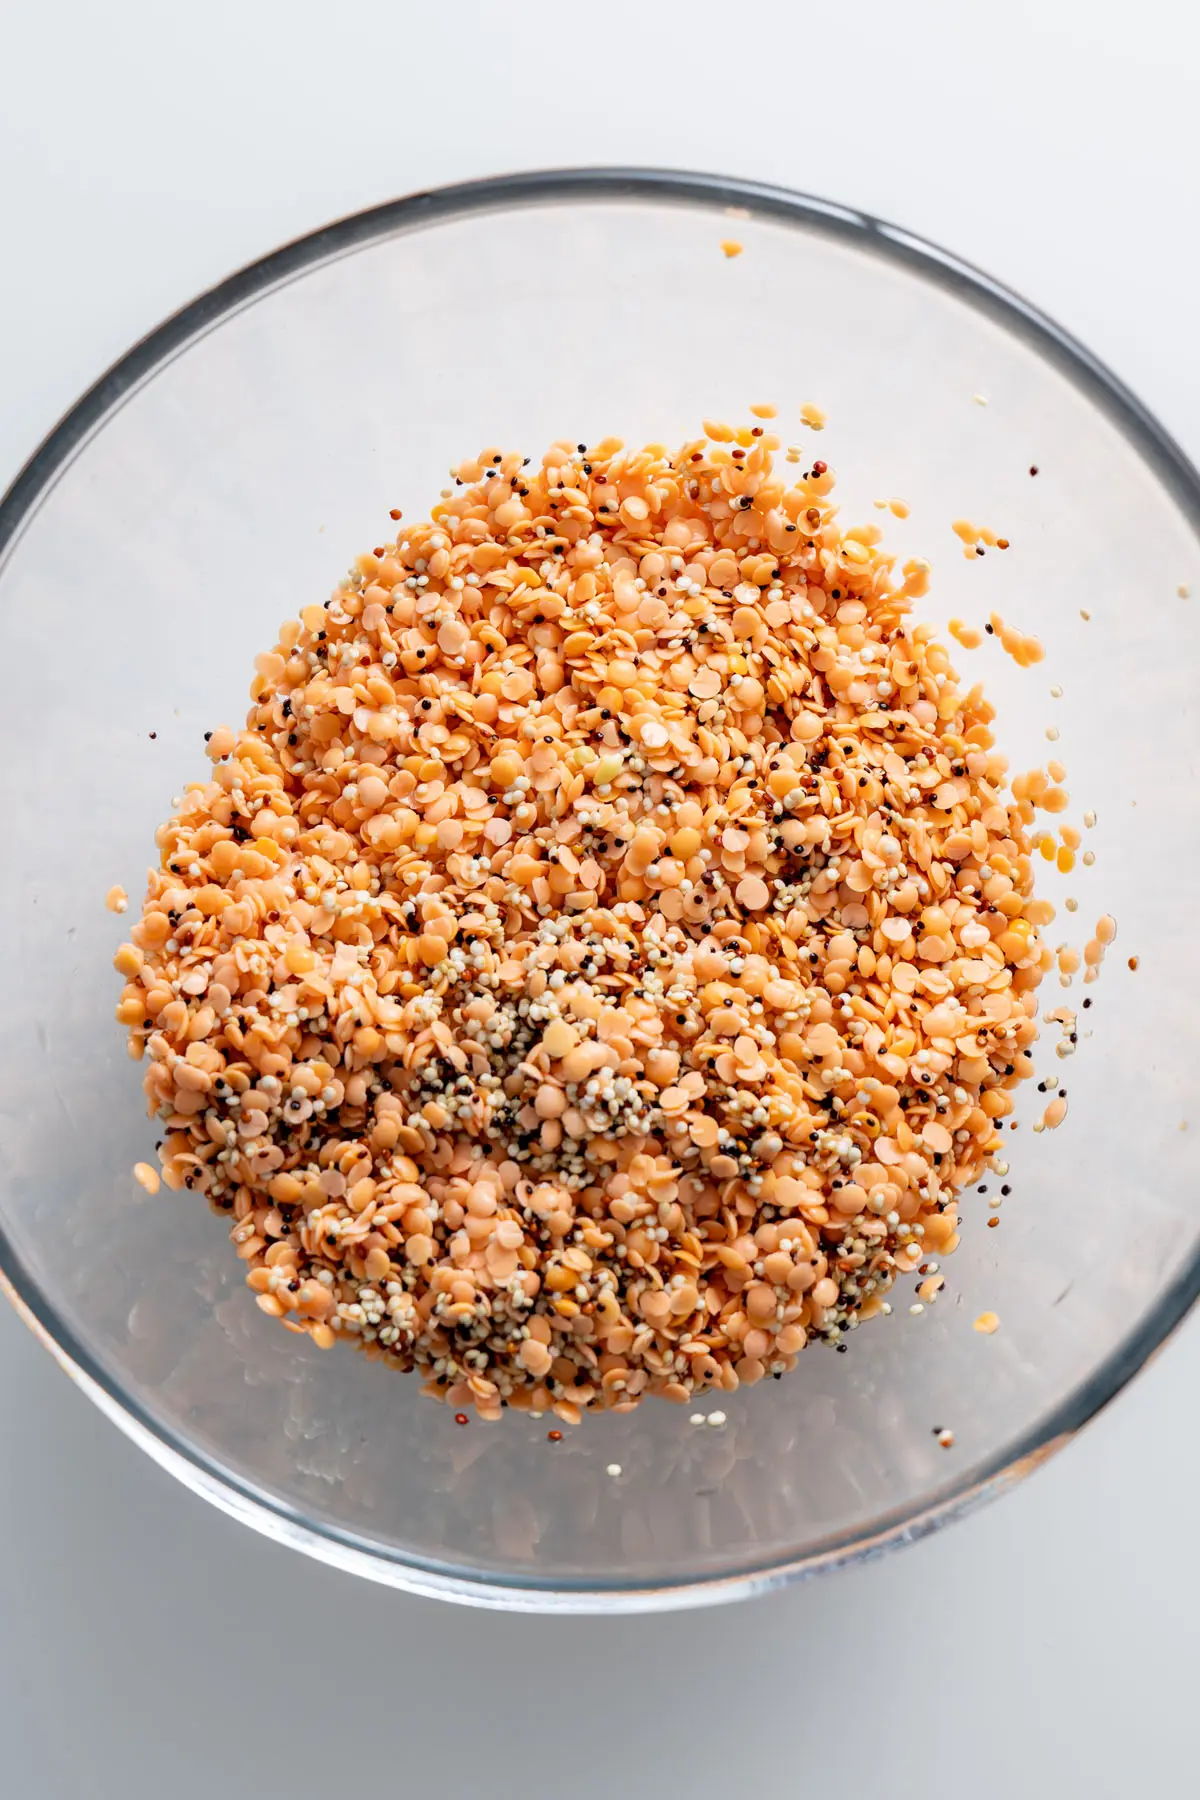
Rinse the lentils and quinoa thoroughly to remove bitterness. Soak them in cold water for 6-12 hours in the fridge, then drain and rinse again.
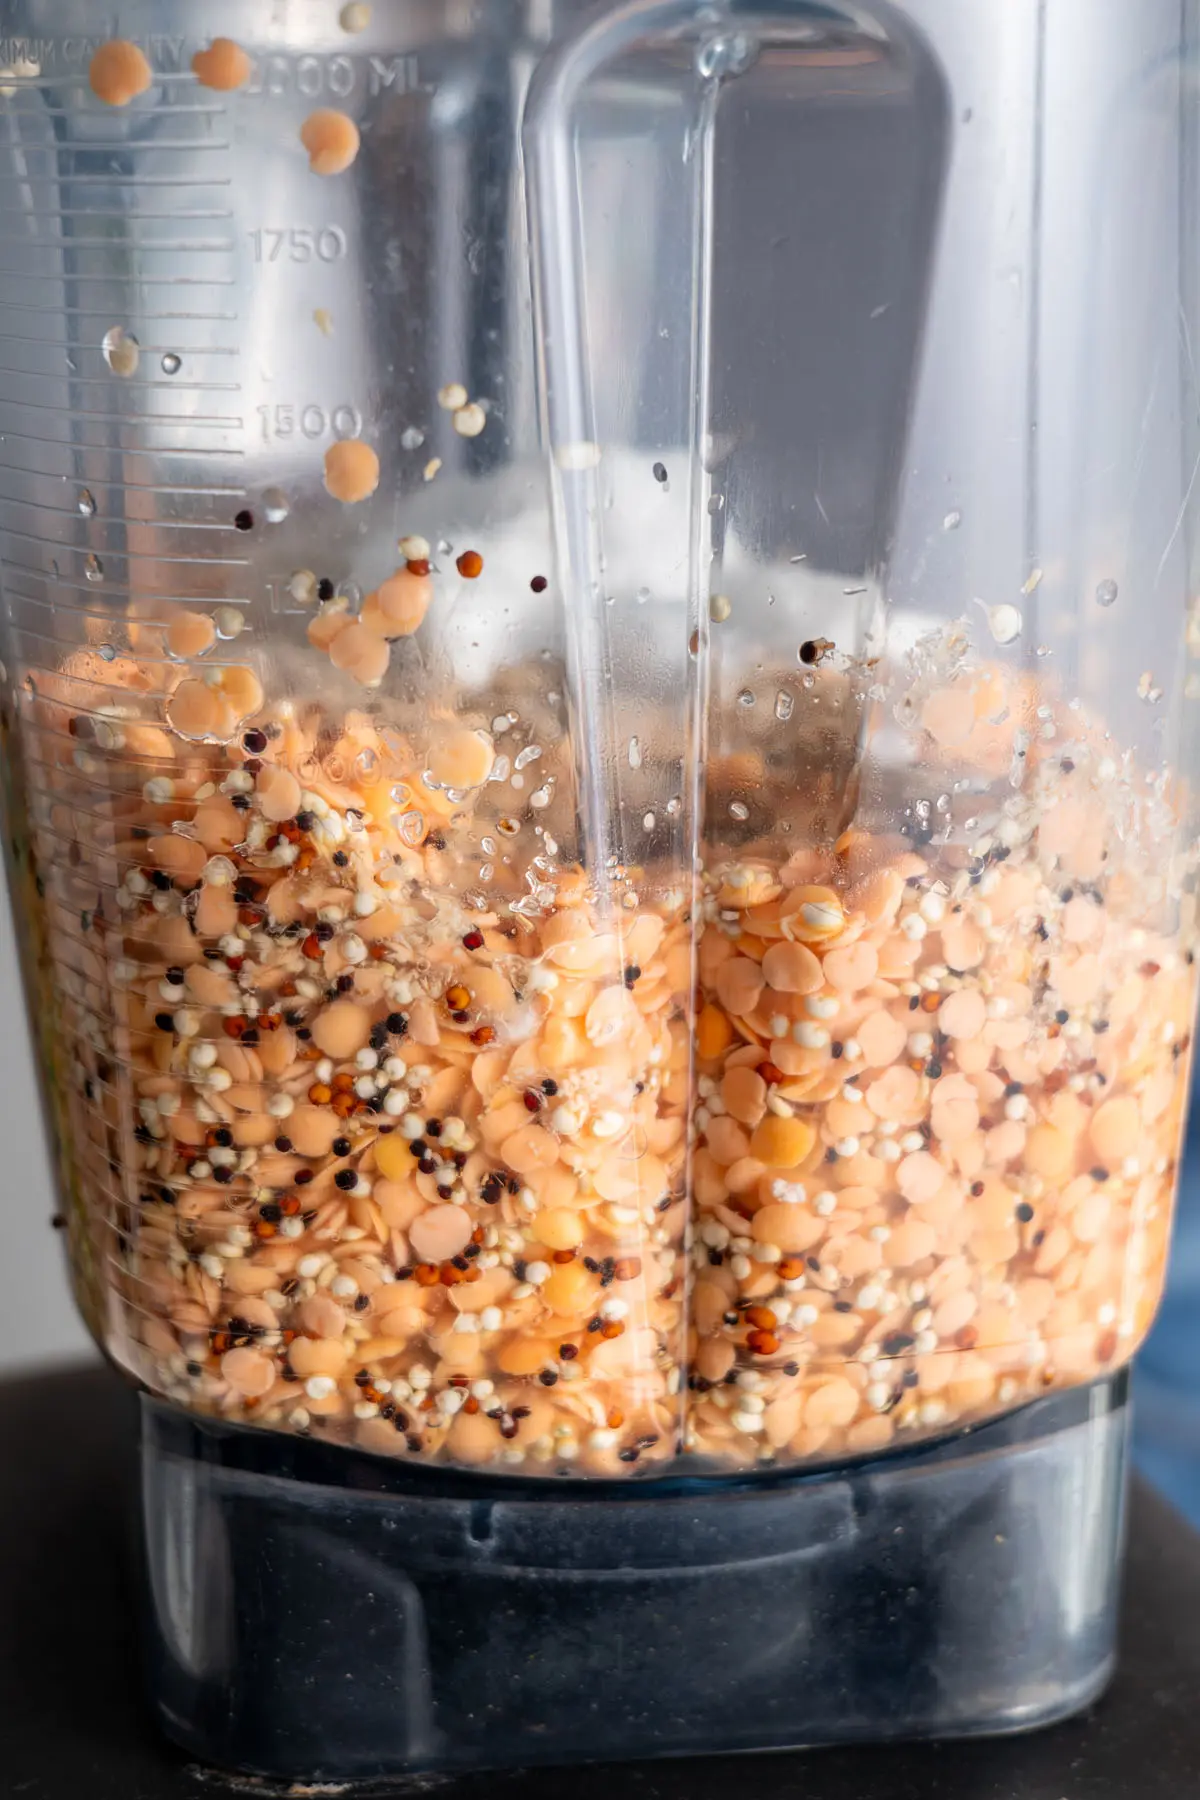
Blend the lentils, quinoa, yeast, yogurt (or olive oil), psyllium husk, salt, and water until smooth.
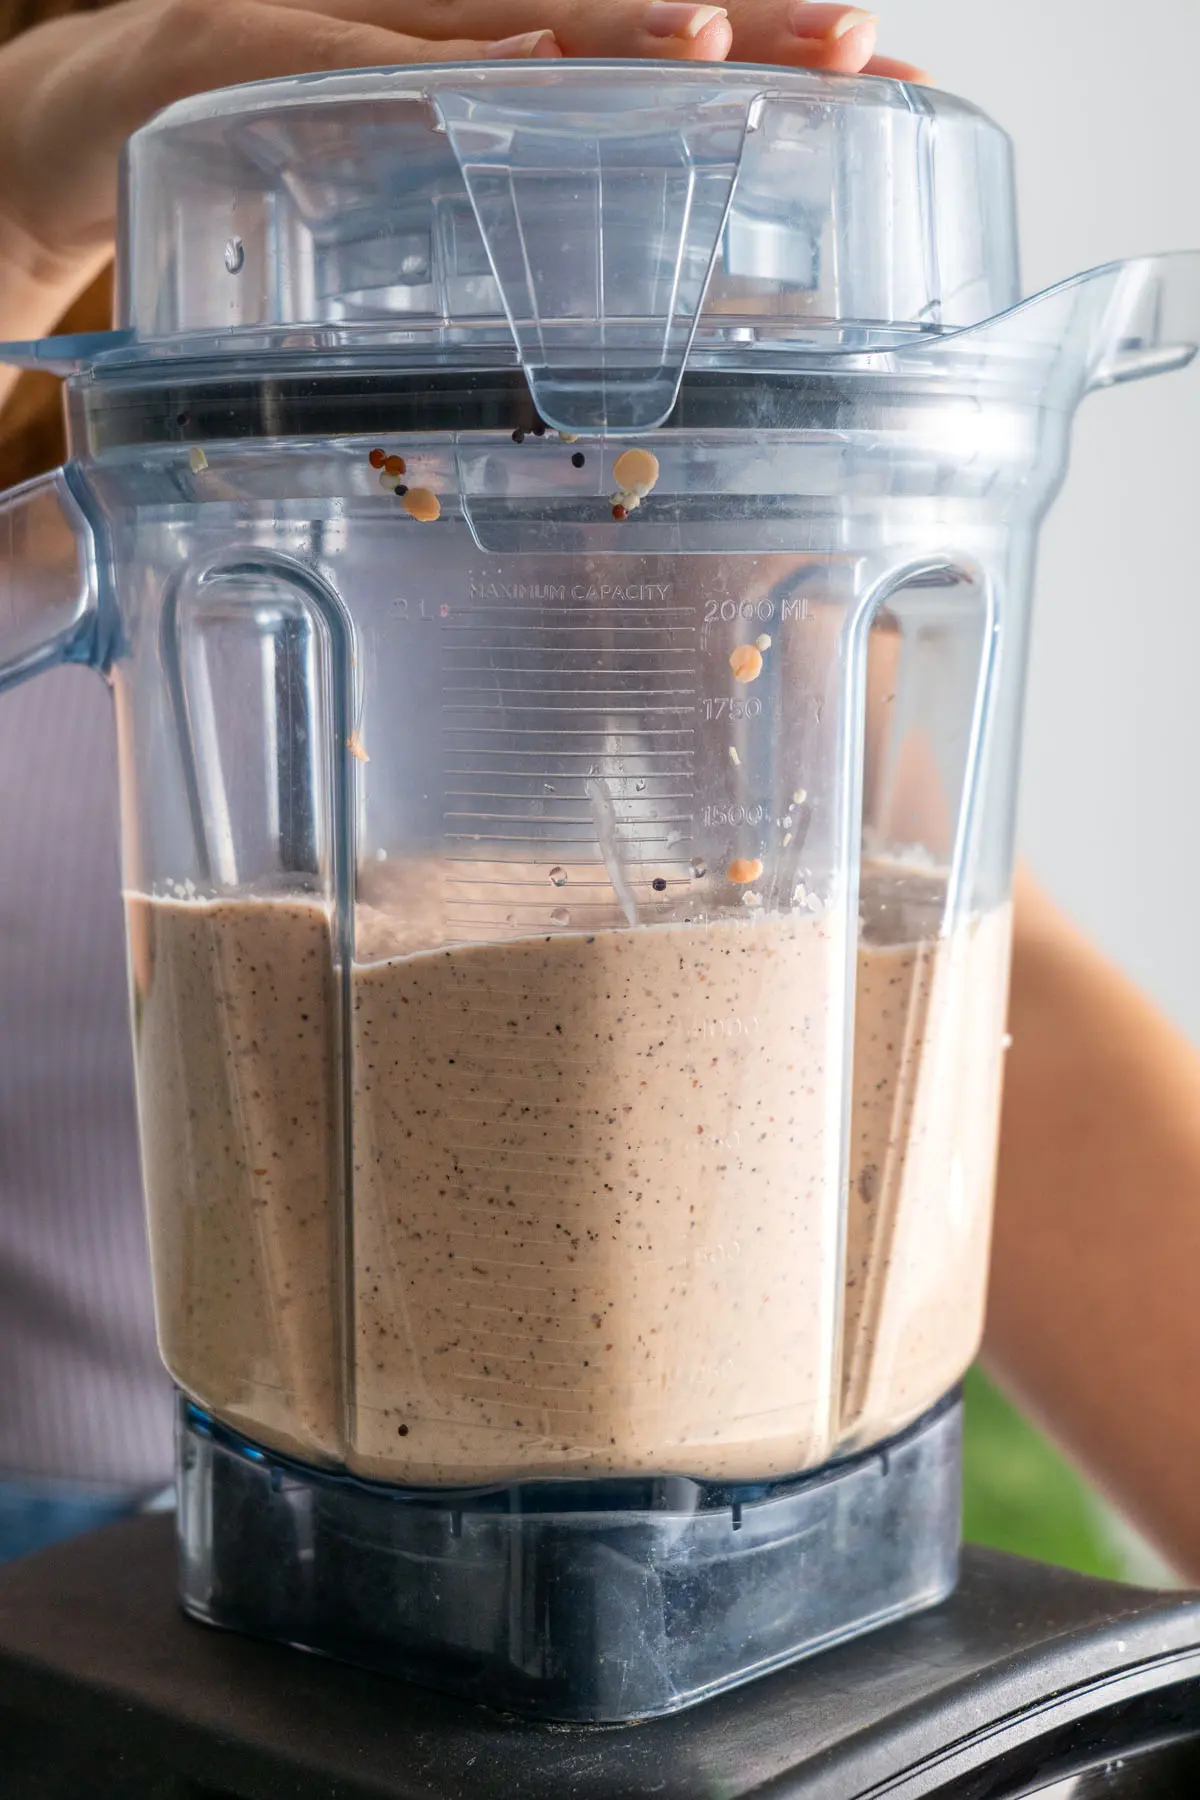
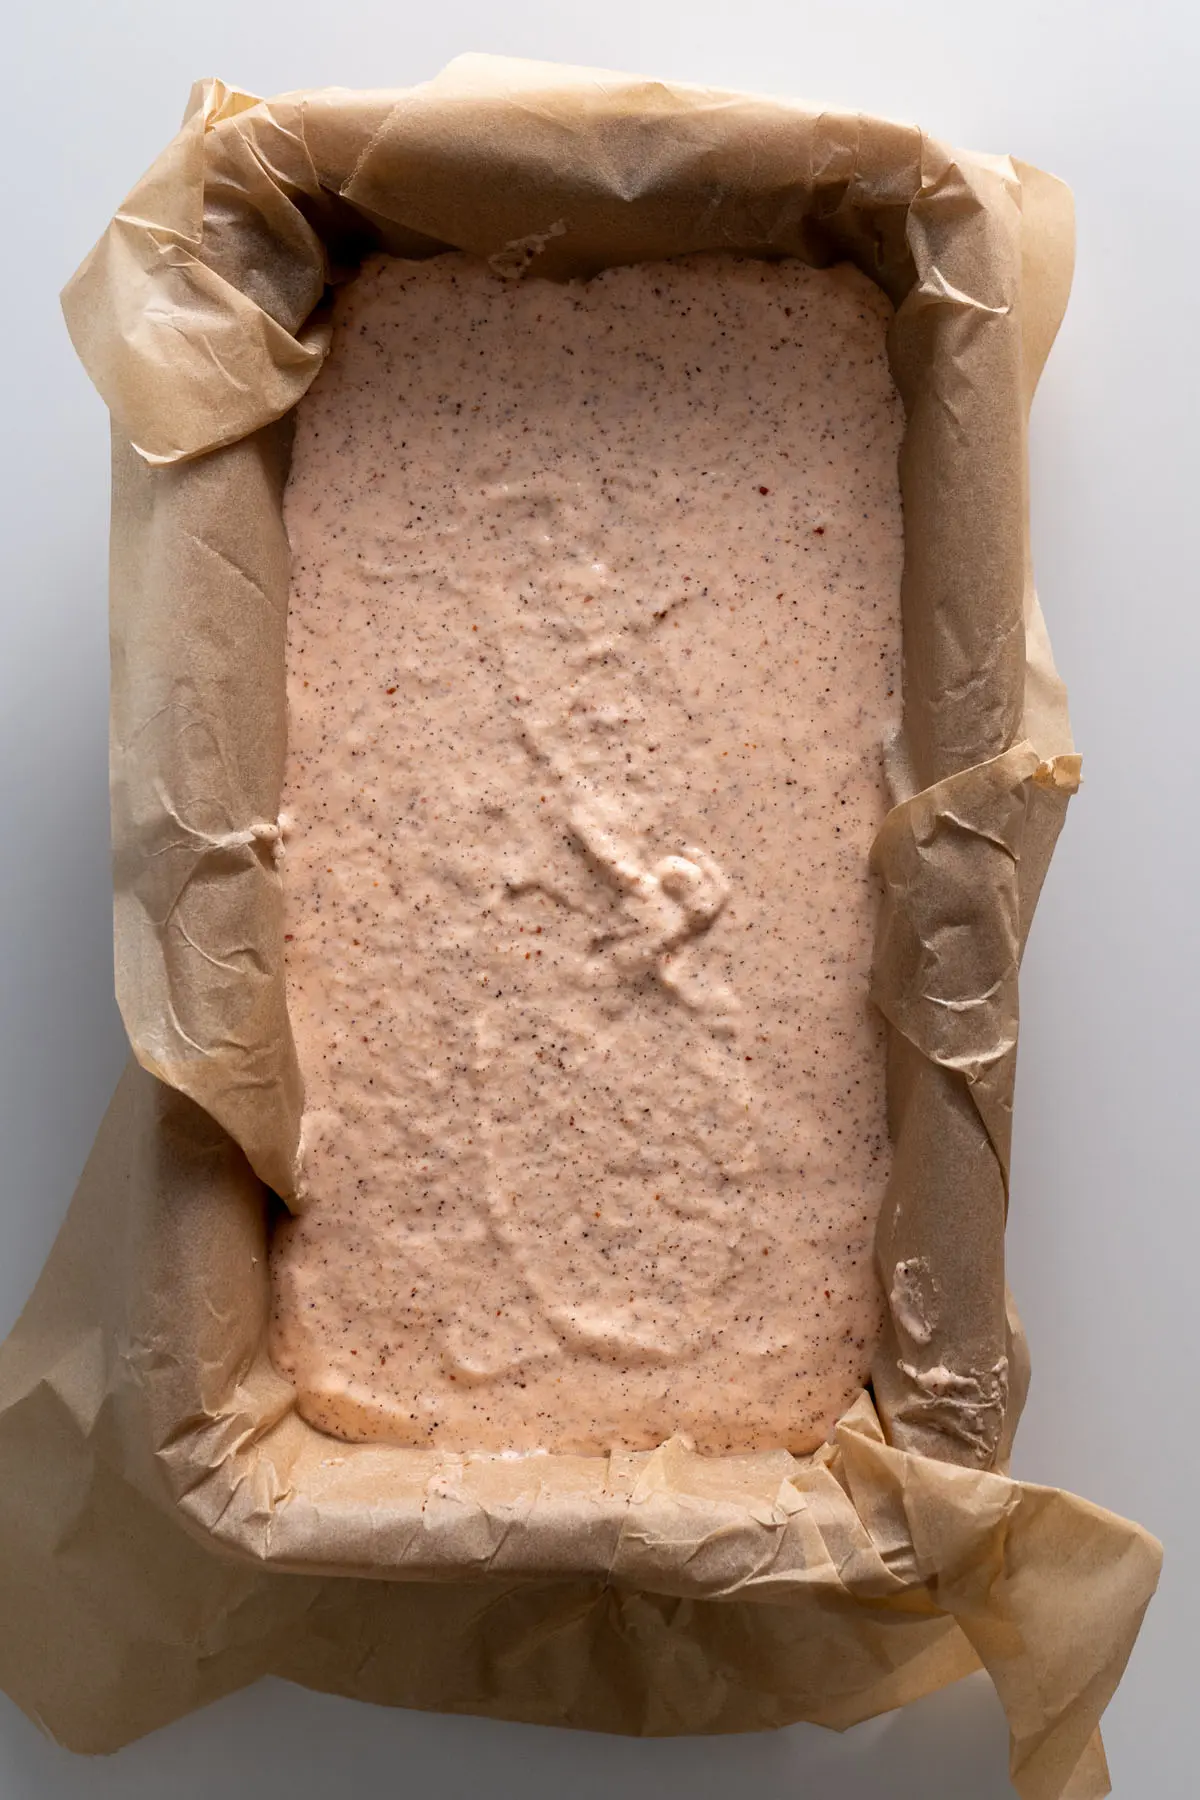
Transfer the mixture to a lined loaf pan and let it rest uncovered for 30 minutes to rise.
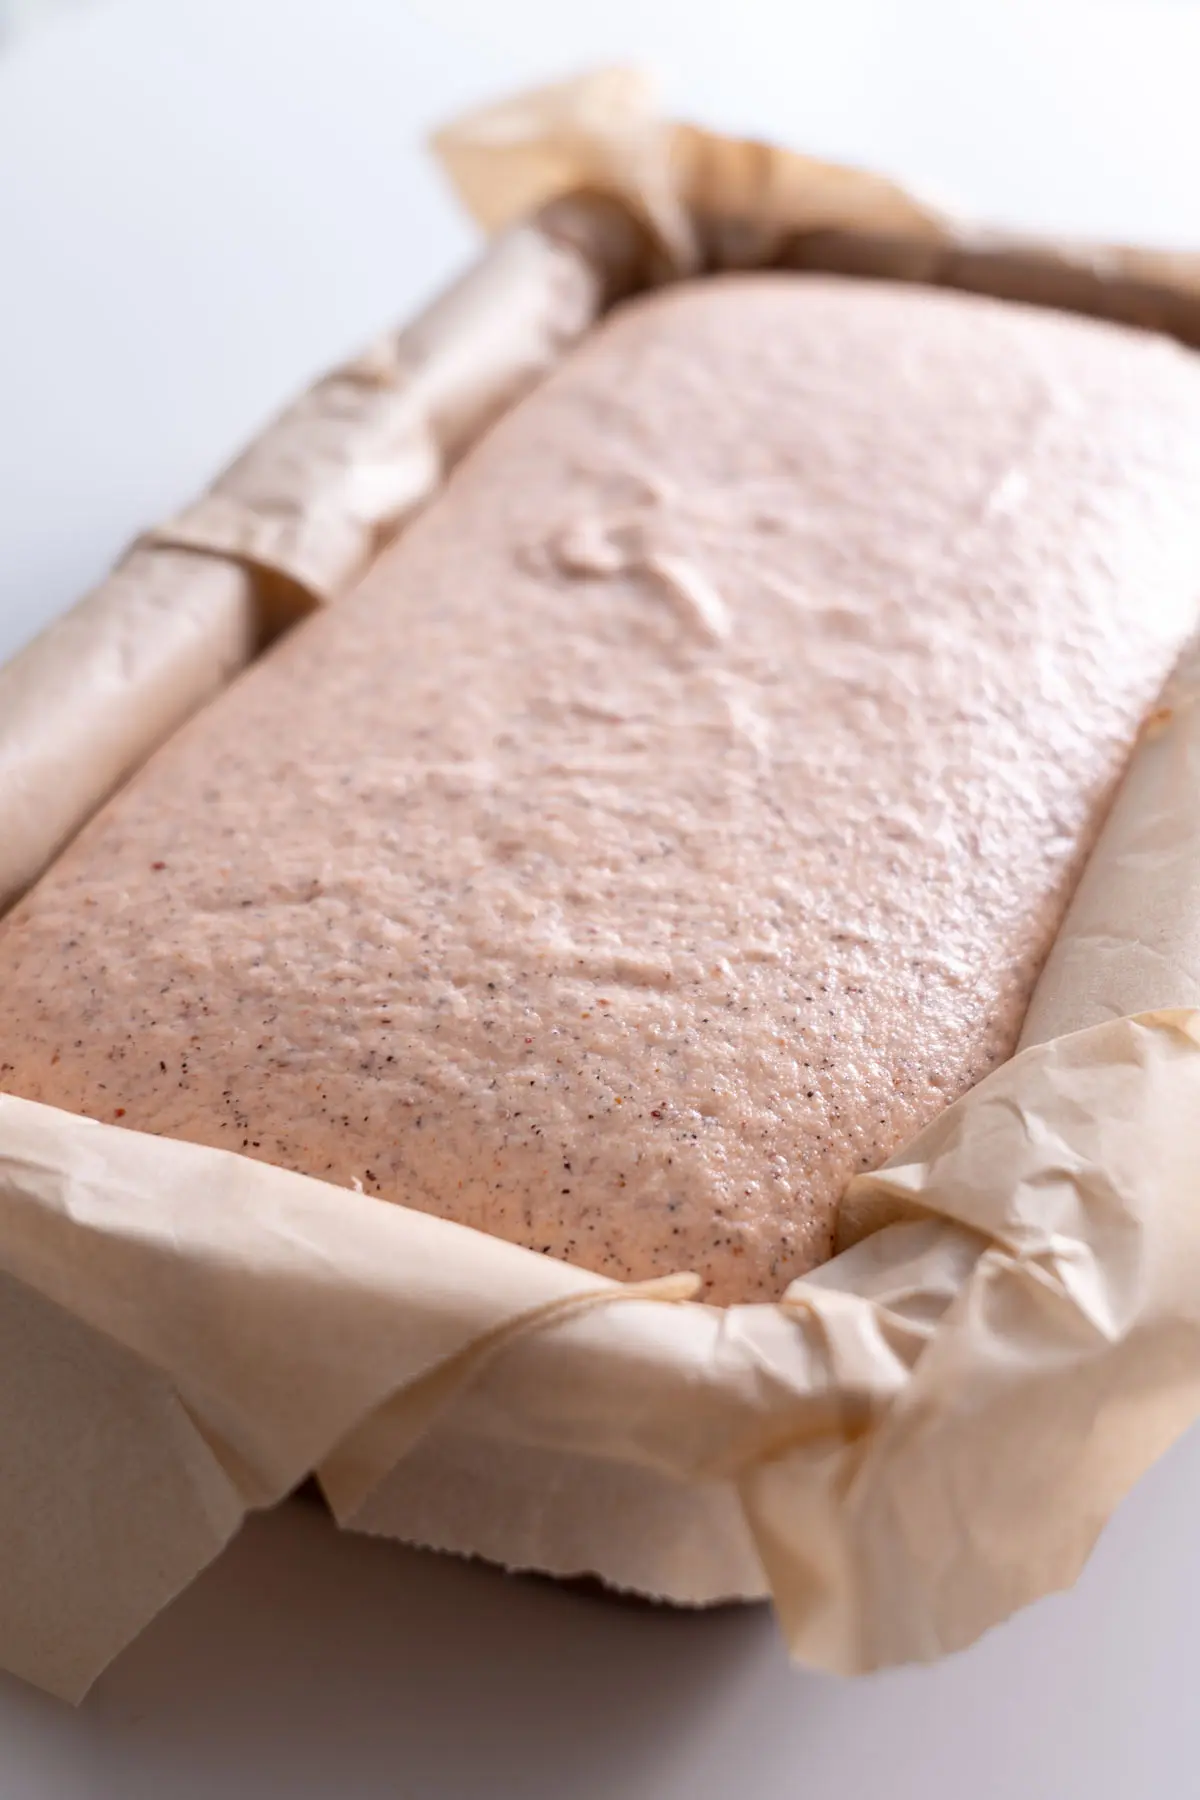
Preheat the oven to 350°F (180°C) with a metal tray on the bottom rack. Bake the loaf for 50 minutes,
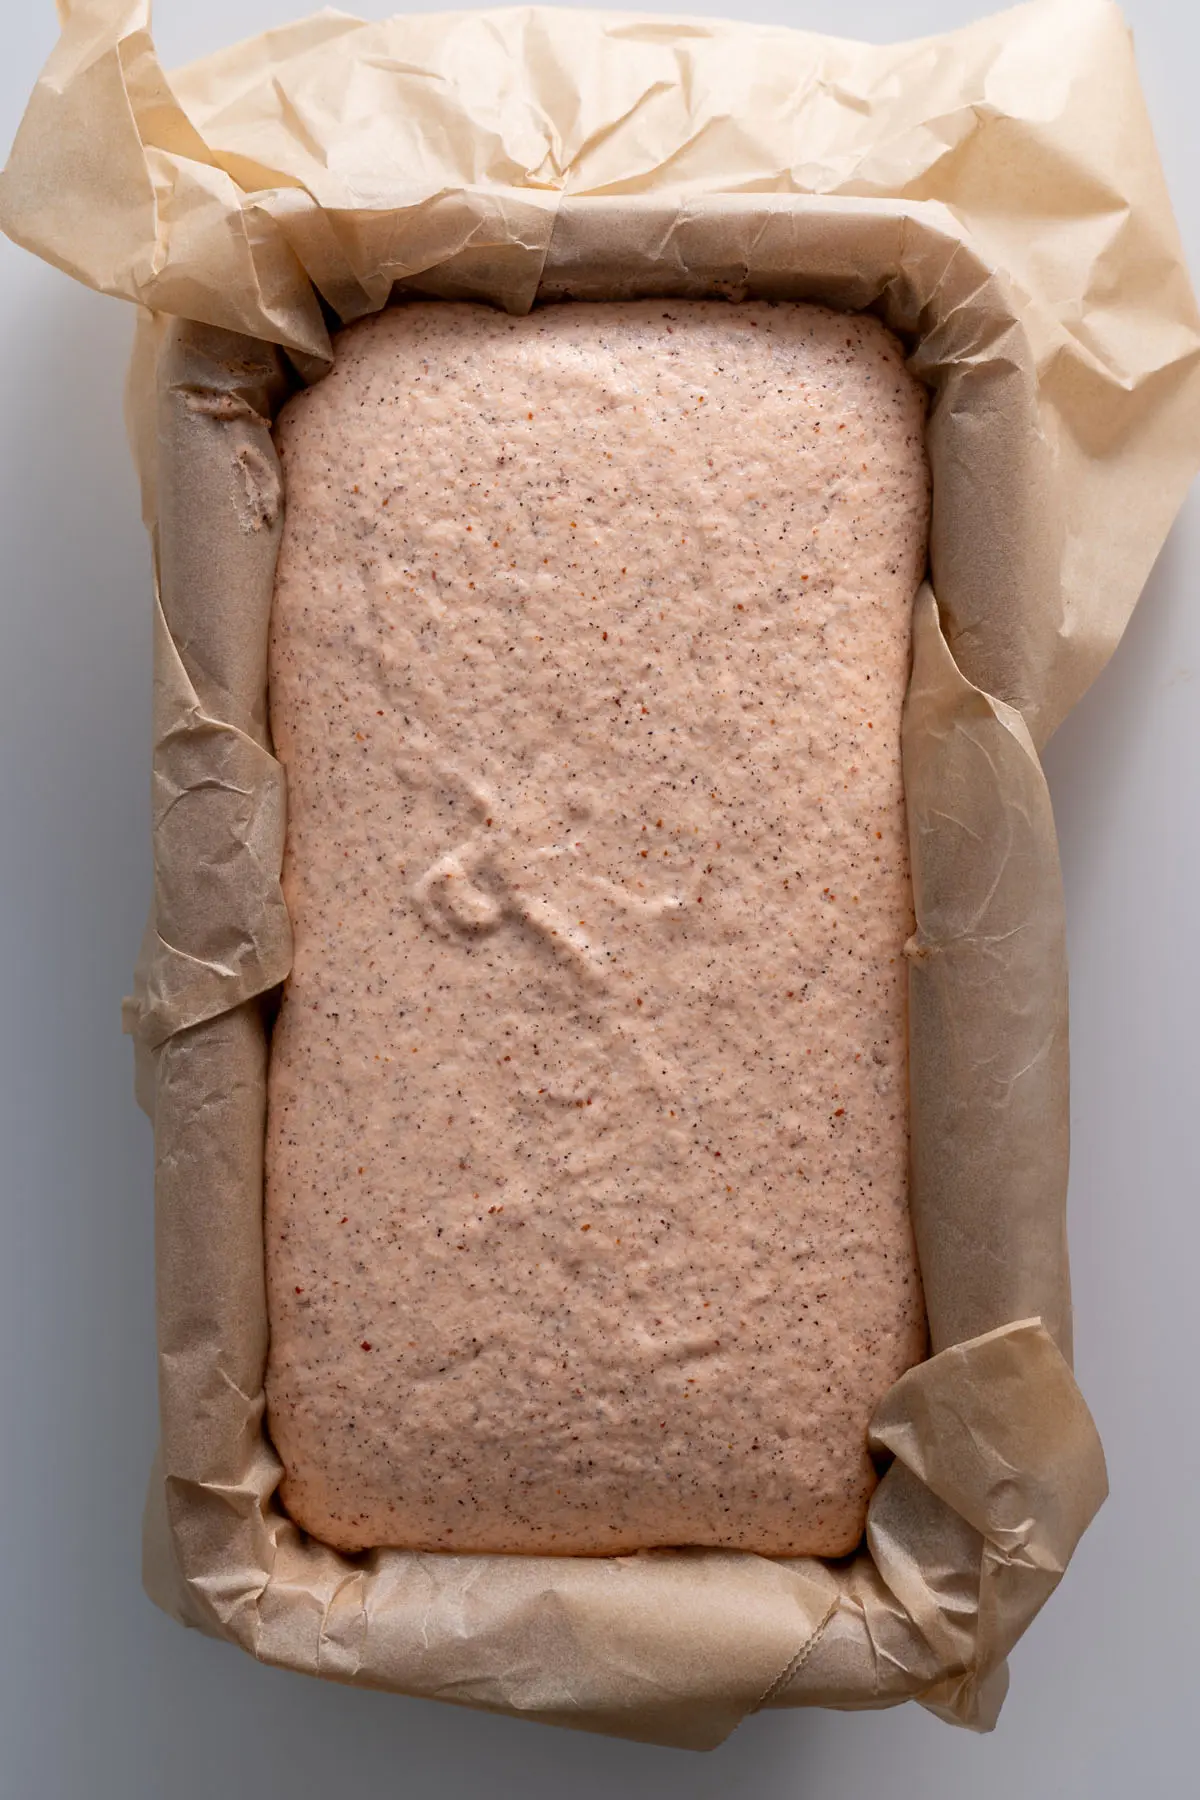
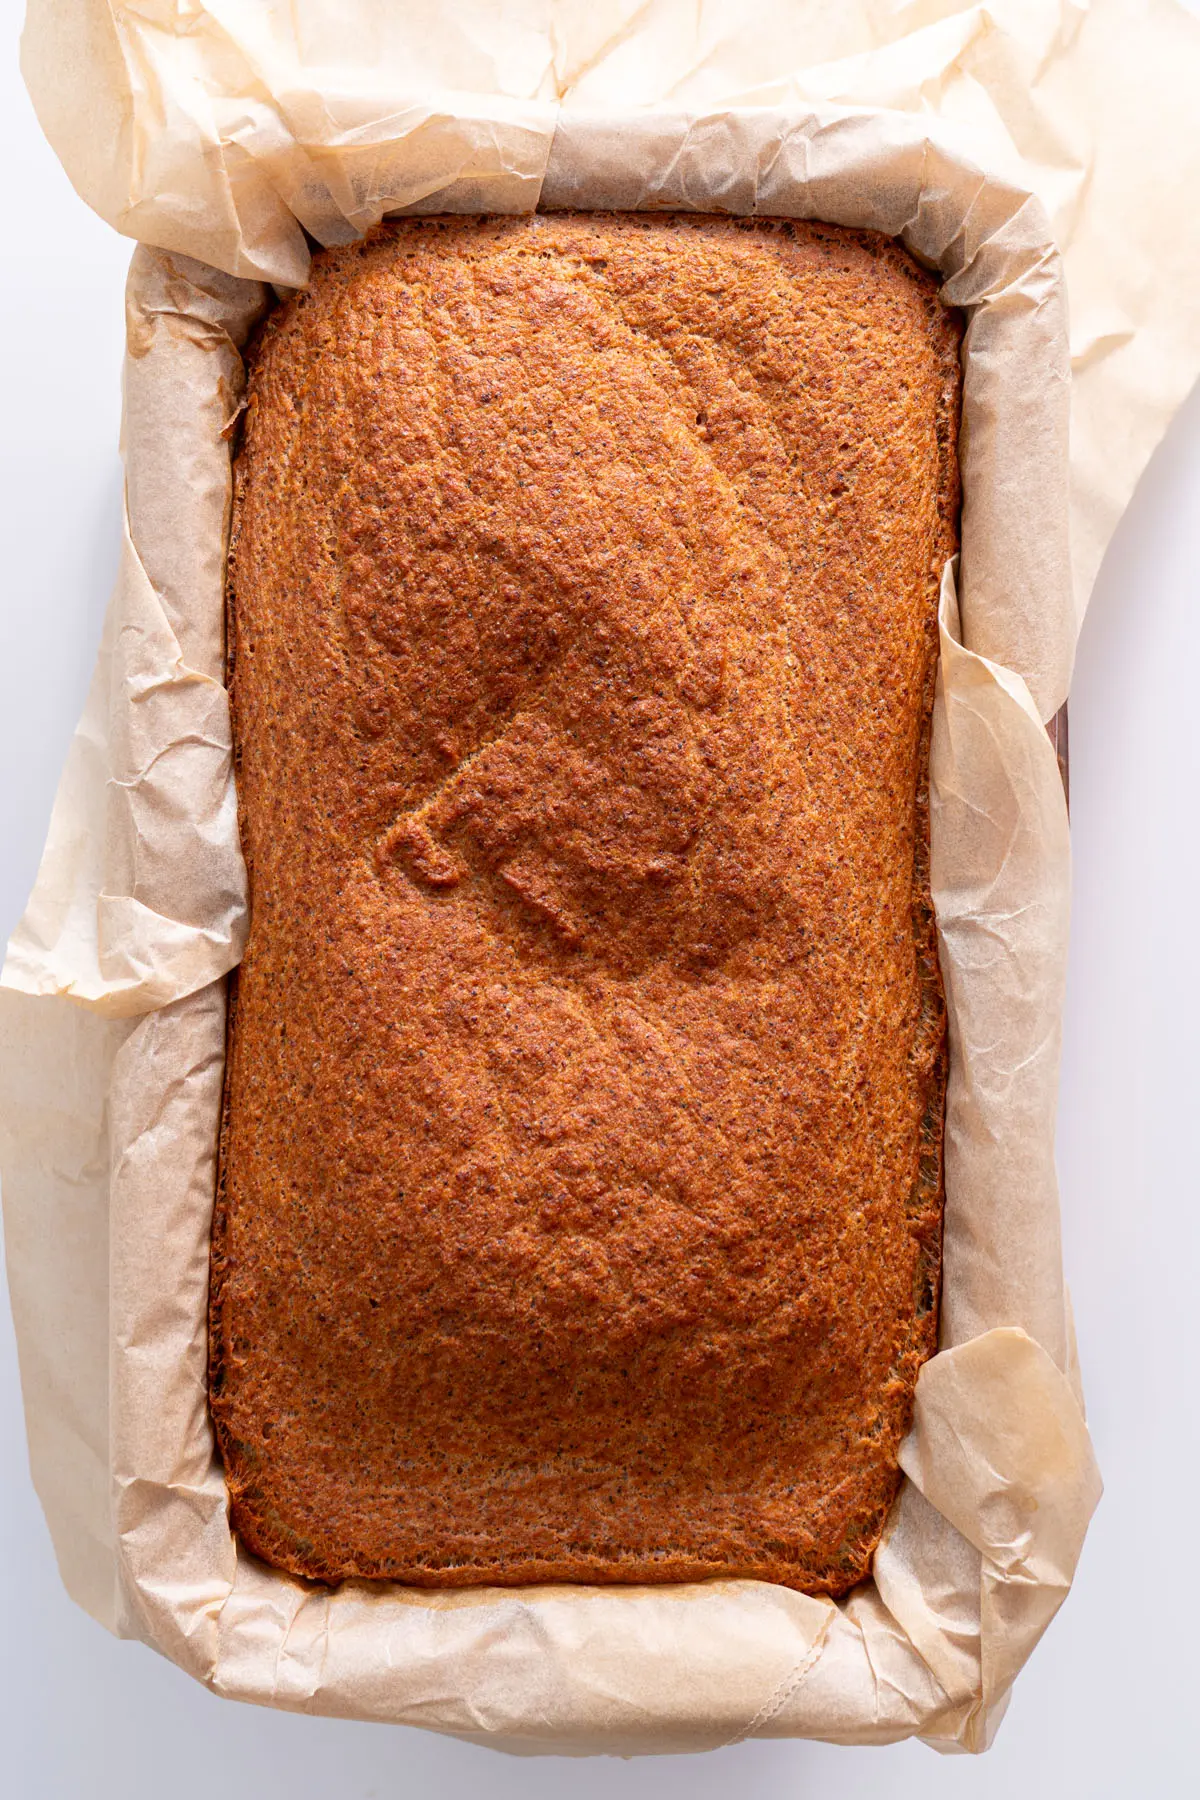
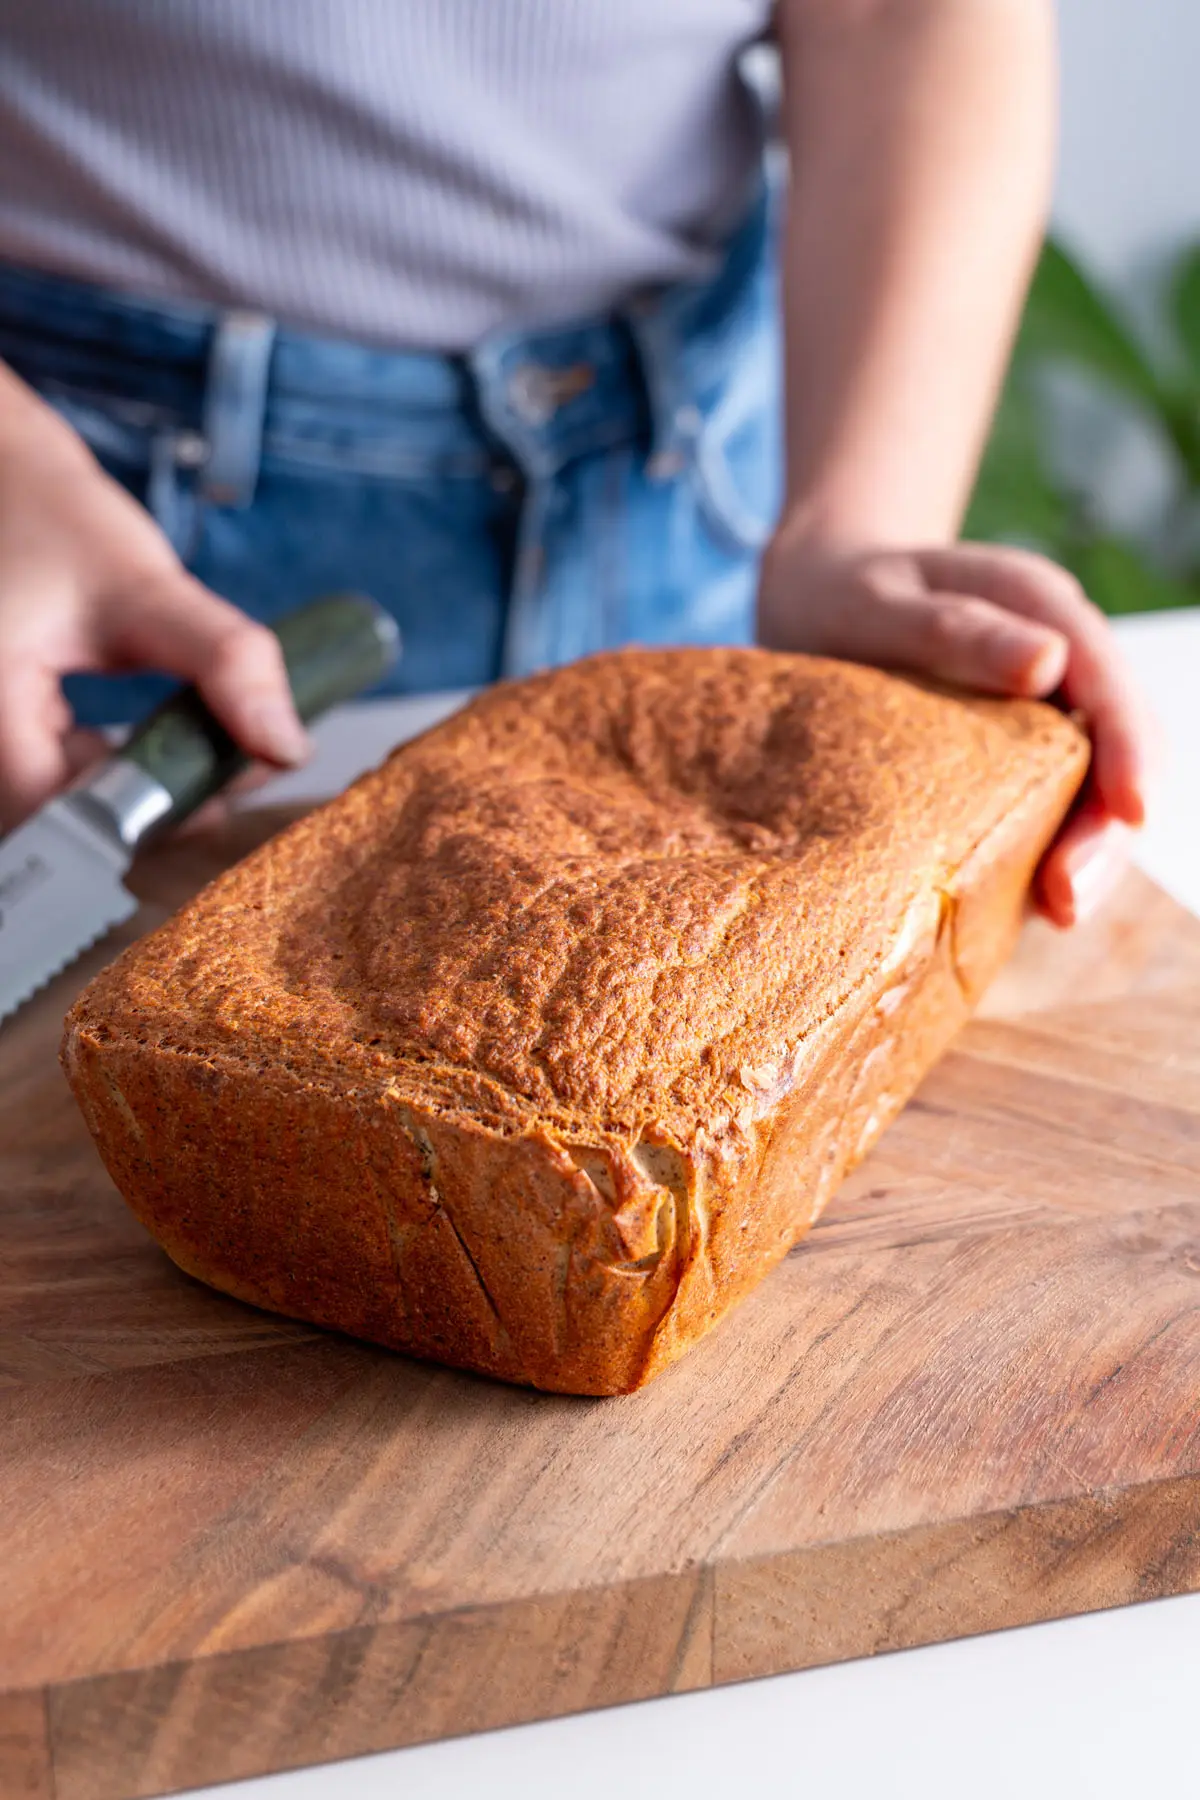
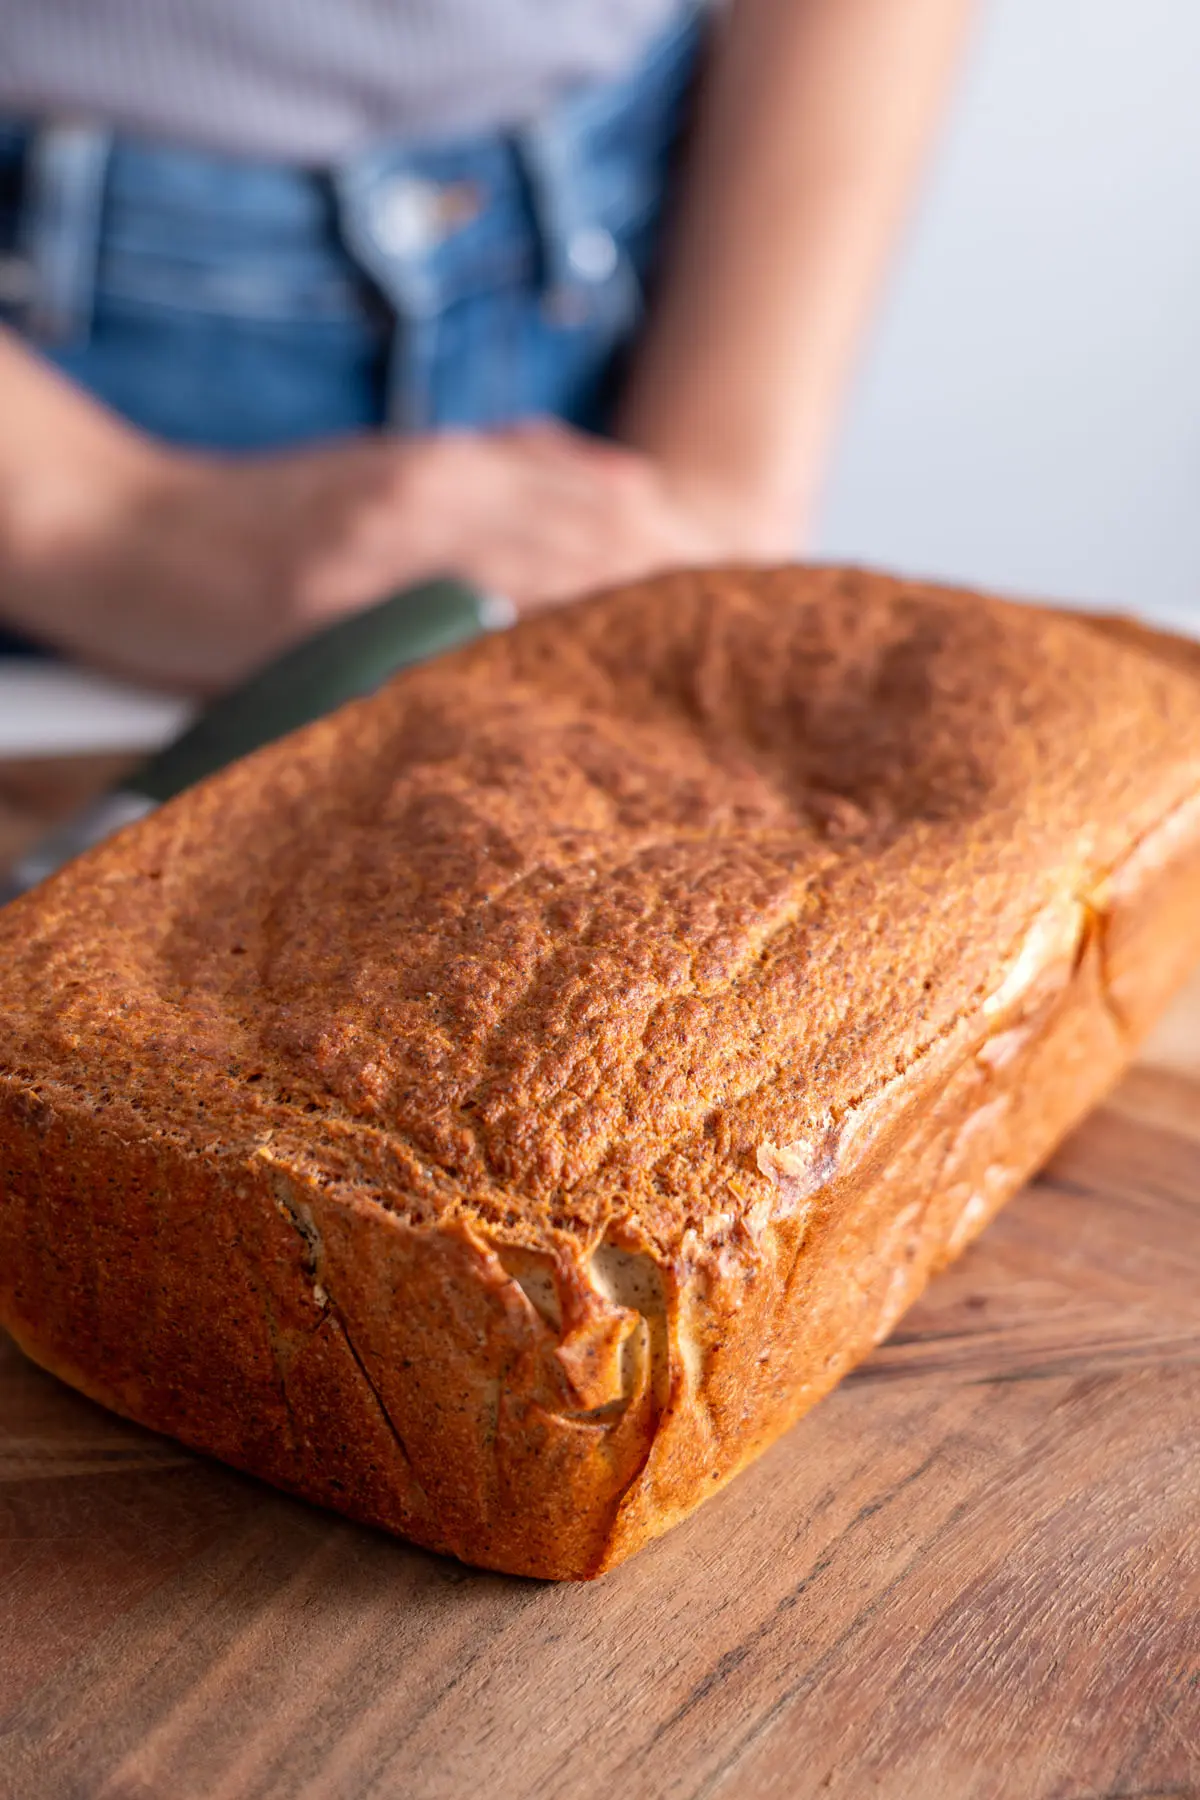
Once golden, remove from the loaf tin and let it cool completely before slicing. View recipe card below for detailed instructions.
Variations and Tips
- For a salt-free option, swap for your spices of choice. For extra flavor, add 1 teaspoon of garlic powder or herbs. Garlic helps our body absorb iron, so it makes a great pairing. Garlic bread, anyone?
- Let the bread cool completely before slicing to prevent it from crumbling.
- Meal-Prep: It’s easy to prep in advance and can be frozen. I usually keep half fresh, wrapped in a clean kitchen cloth, to consume in a couple of days and slice and freeze the rest. Toast when ready to eat, and it’s as good as fresh! This way, you can toast a piece whenever you want some delicious bread.
- Cost-effective: Good quality, nourishing, gluten-free bread can be pretty expensive where we live, often costing around $15 AUD ($9.80 USD), whereas this Red Lentil and Quinoa Breads come out at about $3.7 AUD ($2.5 USD). Of course, this can vary depending on your location.
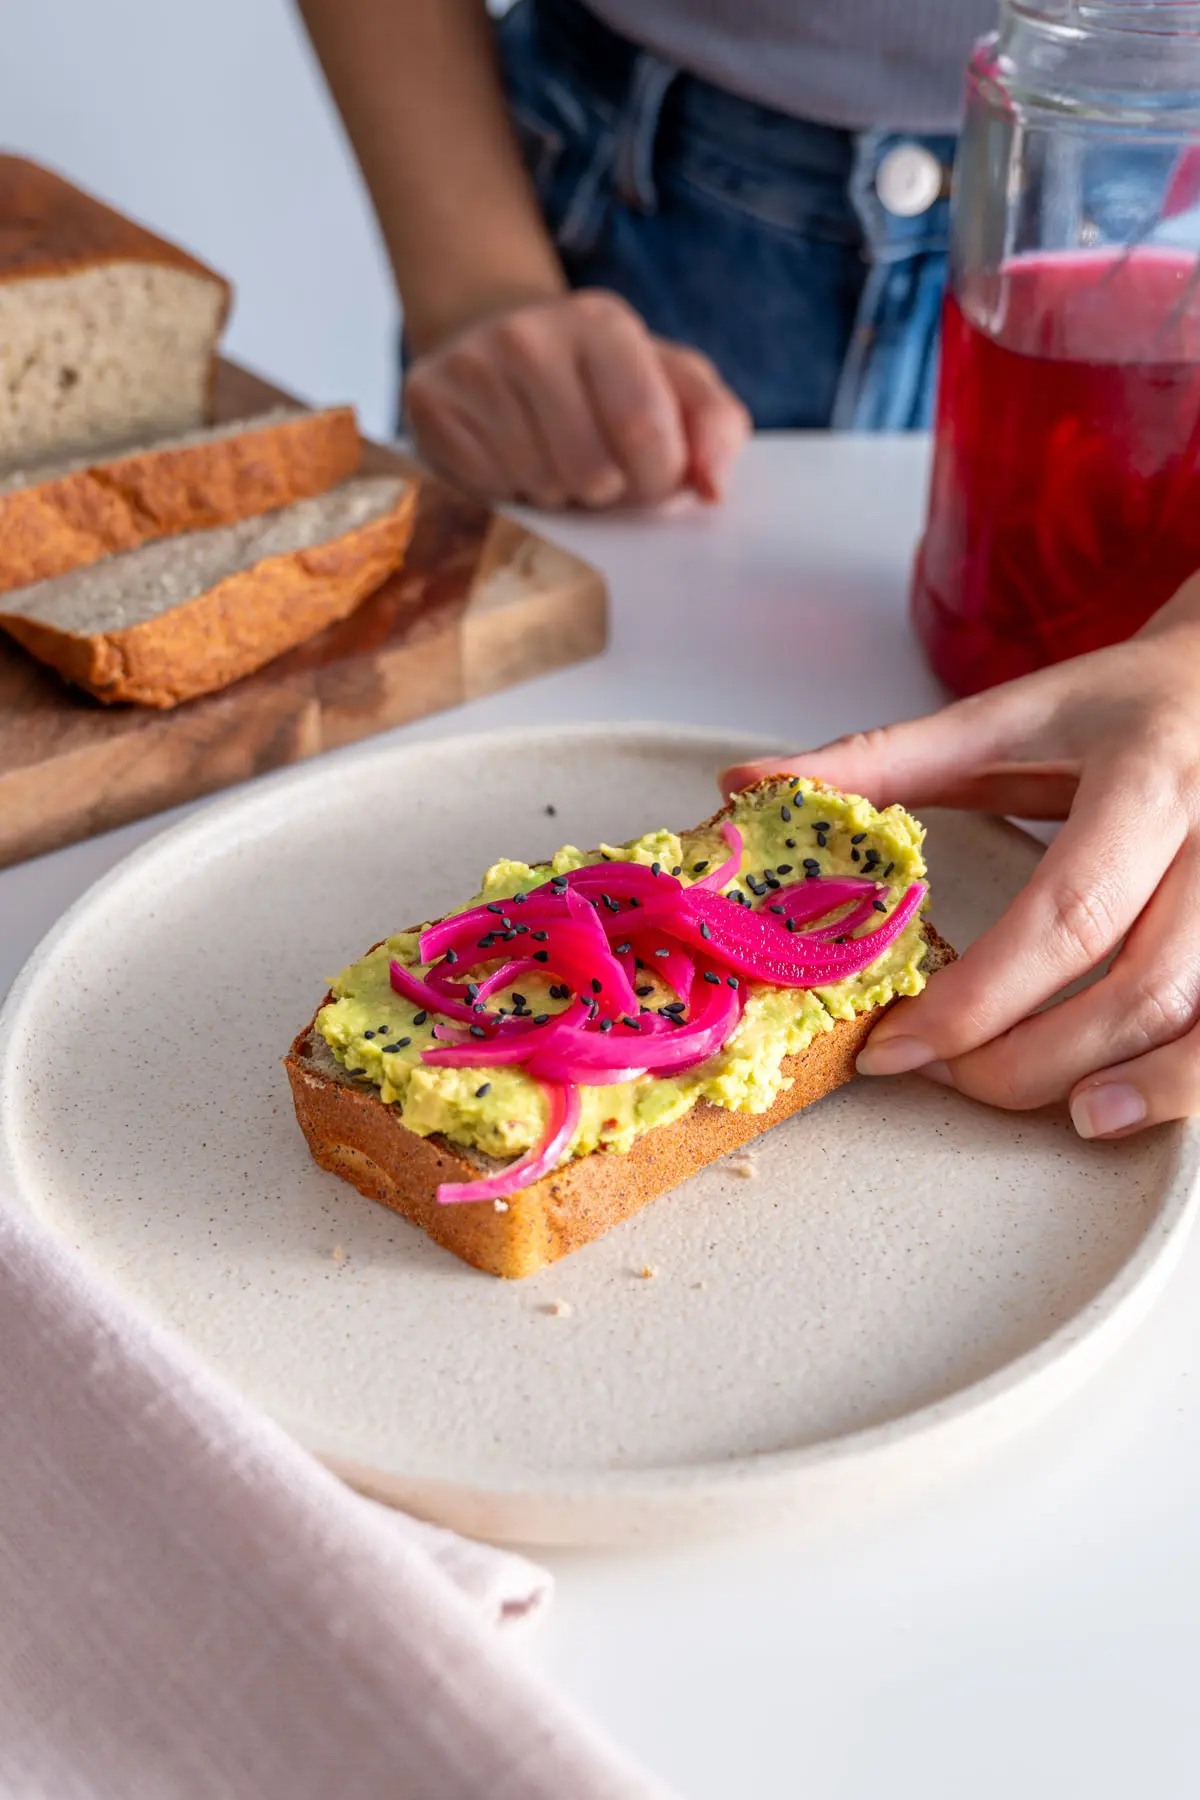
- This bread pairs wonderfully with some avocados, or our Red Lentils Hummus, or Beet Hummus, and topped with Easy Pickled onions.
- If you like the idea of using lentils in gluten-free alternatives to baked goods, try our GF Pizza Crust or 2-Ingredient Quinoa-Red Lentils Wraps.
- For another delicious, dense bread alternative, try our viral 1-Ingredient Buckwheat Bread, or Gluten-free Seeded Bread.
Why You’ll Love This Red Lentil Quinoa Bread TLDR
- Gluten-free
- High-protein
- Oil-Free
- Simple ingredients
- Healthy and satisfying
- Vegan

Red Lentil Quinoa Bread (Gluten-Free)
Ingredients
- 1.5 cups (280 g) dried split red lentils
- 0.5 cups (85 g) dry quinoa
- 1 tbsp (7 g) instant dry yeast - see notes
- 3 tbsp (45 g) dairy-free yogurt - or sub 2 tbsp olive oil
- 2 tbsp (10 g) whole psyllium husk
- 1 tsp (6 g) sea salt flakes
- 1.25 cups (295 ml) water
Instructions
- Thoroughly rinse the lentils and quinoa. Transfer to a large bowl and cover with cold water. Soak for 6-12 hours in the fridge. Drain the lentils and quinoa thoroughly. They can hold a lot of extra water, which will keep the bread from cooking properly, I recommend letting them sit in a sieve for 10 minutes to remove the excess water
- In a high-speed blender, add the lentils, quinoa, yeast, yogurt, psyllium husk, salt, and 1.25 cups of water. Blend until smooth.
- Line a 9.5x5x2.5in loaf pan with baking paper and transfer the mixture to the pan. Let it rest uncovered for 30 minutes.
- Preheat the oven to 350°F (180°C) fan forced, with a metal tray on the bottom rack.
- Place the loaf pan on the metal tray and bake for 50 minutes. Do not open the oven door while the bread is cooking. Remove from the pan and baking paper, as soon as you take it out of the oven, and place on a baking cooling rack. Allow it to cool completely before slicing. Once cooled, keep in an airtight container for 3 to 4 days.
Notes
Video
Per Serving/Portion
FAQ
Yes, it’s naturally gluten-free with red lentils and quinoa.
Yes, slice and freeze it in an airtight container for up to 3 months.
Red lentils are ideal because of their quick cooking time and texture. I do not recommend making substitutions.
It pairs well with hummus, avocado, and pretty much any sandwich toppings! One of my favorite combos is avocado, hummus, caramelized onions, pickled onions, finely sliced grilled tofu, and baby spinach. So delicious!
Yes this recipe is suitable for a whole food plant-based diet.
Soaking red lentils and quinoa softens them for blending, resulting in a better texture. It also reduces phytic acid, increasing the bioavailability of key nutrients like iron and zinc. This simple step helps you get more nutrition from your bread while ensuring a light, fluffy texture.
Yes, any neutral tasting yogurt will work fine.
I haven’t tried it myself, but a few people in the community have done a similar version with baking powder, so it’s worth trying.
There’s no good swap for this recipe. I’ve tested flaxseed multiple times and didn’t get consistent results. If you’re looking for a psyllium-free option, my 1-Ingredient GF Buckwheat Bread is the one to try.
Use whole psyllium husk. I haven’t tested it with powder, you might get a slightly different texture.
Straight from your kitchens.
Snap a photo in the comments on any recipe. We love to see it! Here’s what the community has been cooking recently.


Just leave a comment on any recipe and attach a photo










What kind of quinoa to use? I see in your video white and red. There are white (mild flavor + fluffy texture when cooked), black (earthly flavor, slightly sweeter than other varieties + crunchy texture), red (rich+Nuttier flavor + firmer texture compared to white quinoa), orange (Milder taste), pink (rare color), purple (rare variety), green (unique hue), gray (Unusual type) quinoa
Hey Joe! I’ve only tested this bread with white and tricolor quinoa, which are what’s widely available to us in Australia. So I can guarantee results with this two. I haven’t actually seen the other kind, but let us know if you experiment with the recipe!
hi
i’ve made this bread two times already , and loved it , but every time it has sunk in the center of the bread during baking , what can be the reason for that?
YAEL, it may be slightly overproofed. I will try to let it rise for a little bit less time. Another issue could be too great a temperature difference between the oven and the house, which could cause it to deflate. So, when the bread is done baking, turn off the oven and leave the door ajar for a while before taking it out completely.
So happy you love the bread. Hope this helps. Let us know how you go 💚
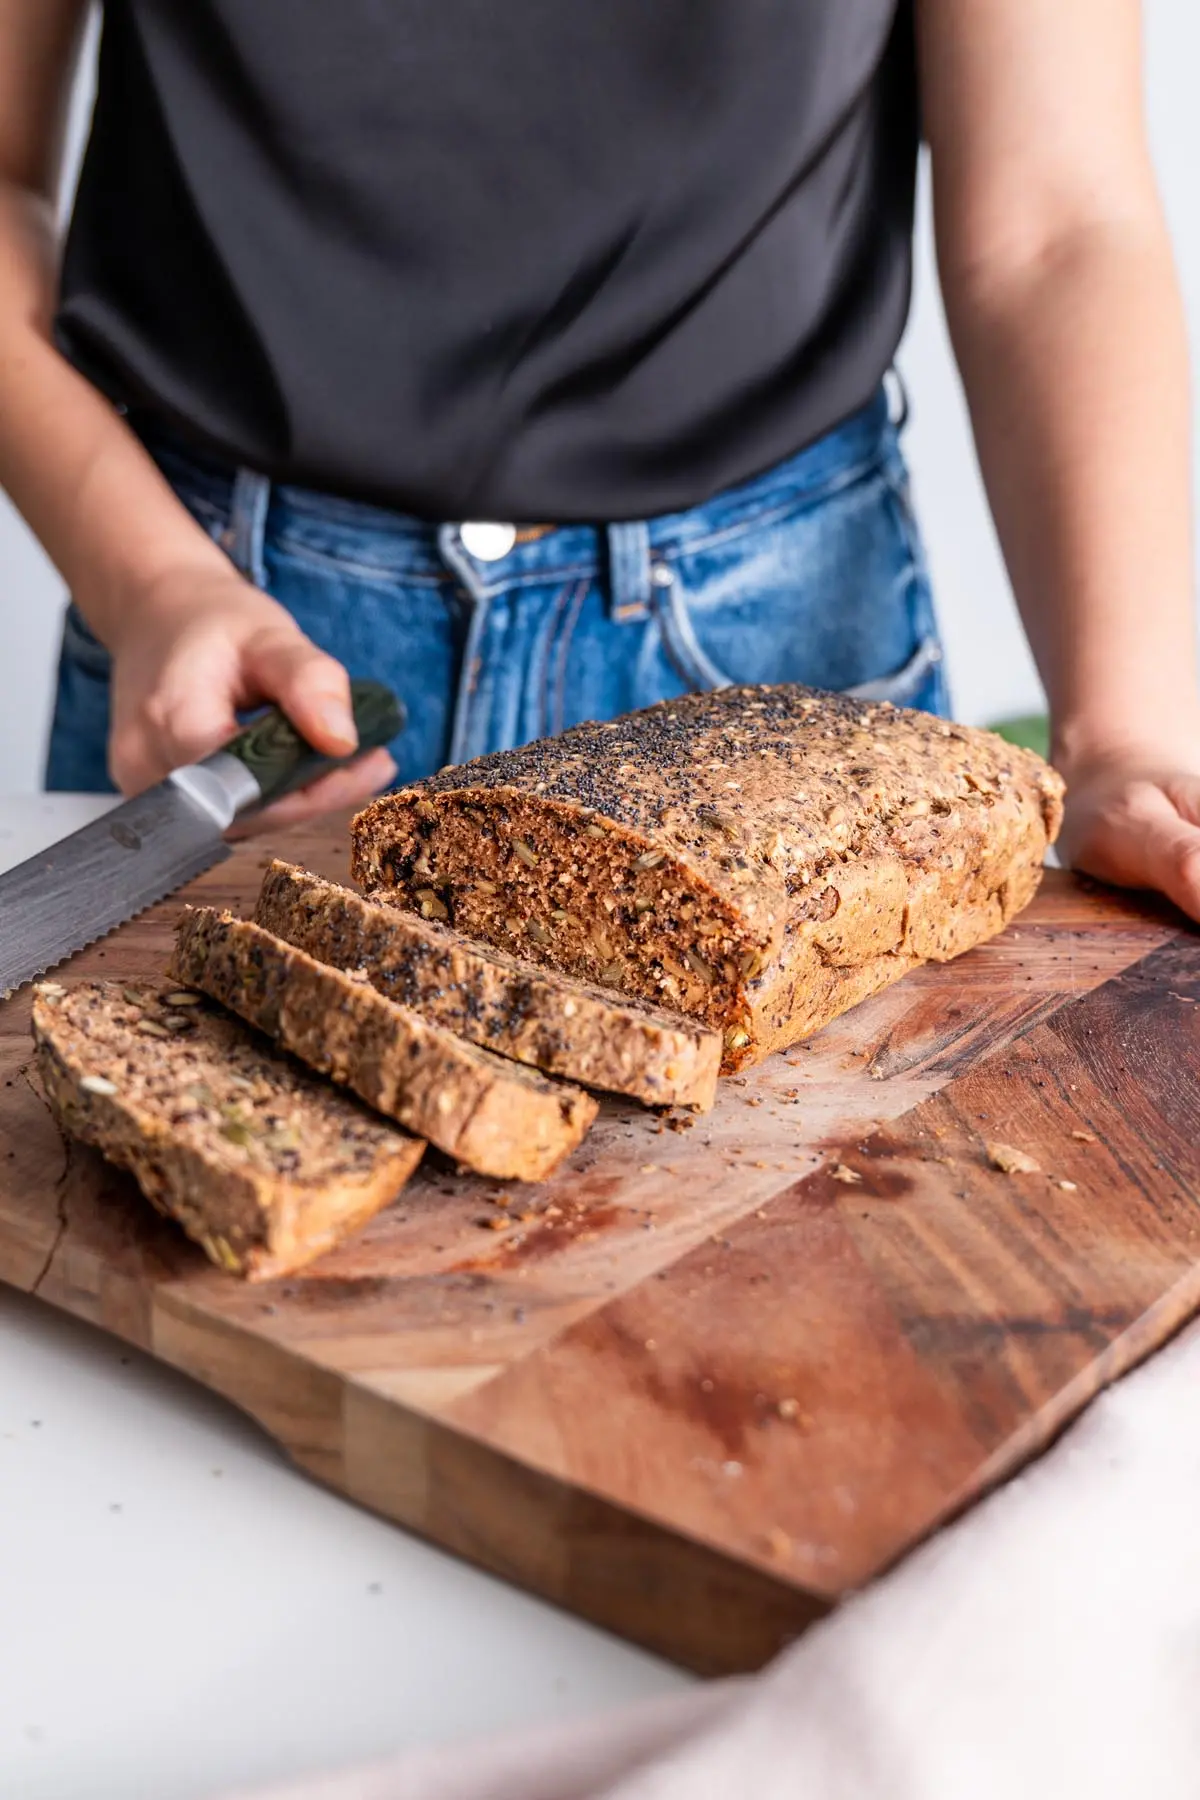
Could you top this with seeds?
Hey Debbie! Absolutely!
I topped it with sesame seeds
Wow, what a beautiful love. Thank you so much for sharing. It looks stunning!
Such a great recipe! I have made this twice as written, however both times the middle is a red color and it’s a bit underdone on the bottom and middle where it’s red. The rise is beautiful and tastes great, though! Any thoughts? Should I just be baking it for longer? Thank you!!
Hi Cierra, I haven’t had this issue happen before. Just to double-check, are you using circulating heat? Is the fan mode on in your oven? 💚
Ah yes I even think about that part – I just have a conventional oven! Would you recommend a longer cook time then, or a different configuration with the metal pan and rack placement? Thank you so much for your quick response!
Oh I’m glad we could figure it out! These are my tips to translate any recipe from convection vs fan ovens 🙂 Let me know how you go with the next loaf, in the meantime I would recommend toasting the bread you’ve already made to make sure it’s all cooked enough 💚
Fan vs no-fan oven: Fan ovens cook food more evenly and often more quickly because the fan circulates hot air around the oven. If a recipe lists a fan setting but your oven doesn’t have one, increase the temperature by 10–20 °C (about 25–35 °F).
For example:
160 °C fan → 170–180 °C conventional
350 °F fan → 375–385 °F conventional
Check for doneness near the end of the baking time, add a few extra minutes if needed, and make sure to rotate your tray halfway through to ensure more even baking.
I can’t believe what a great texture this is. Thank you
Hi Alison, I am so happy you loved it. Thank you so much for sharing! 💚