
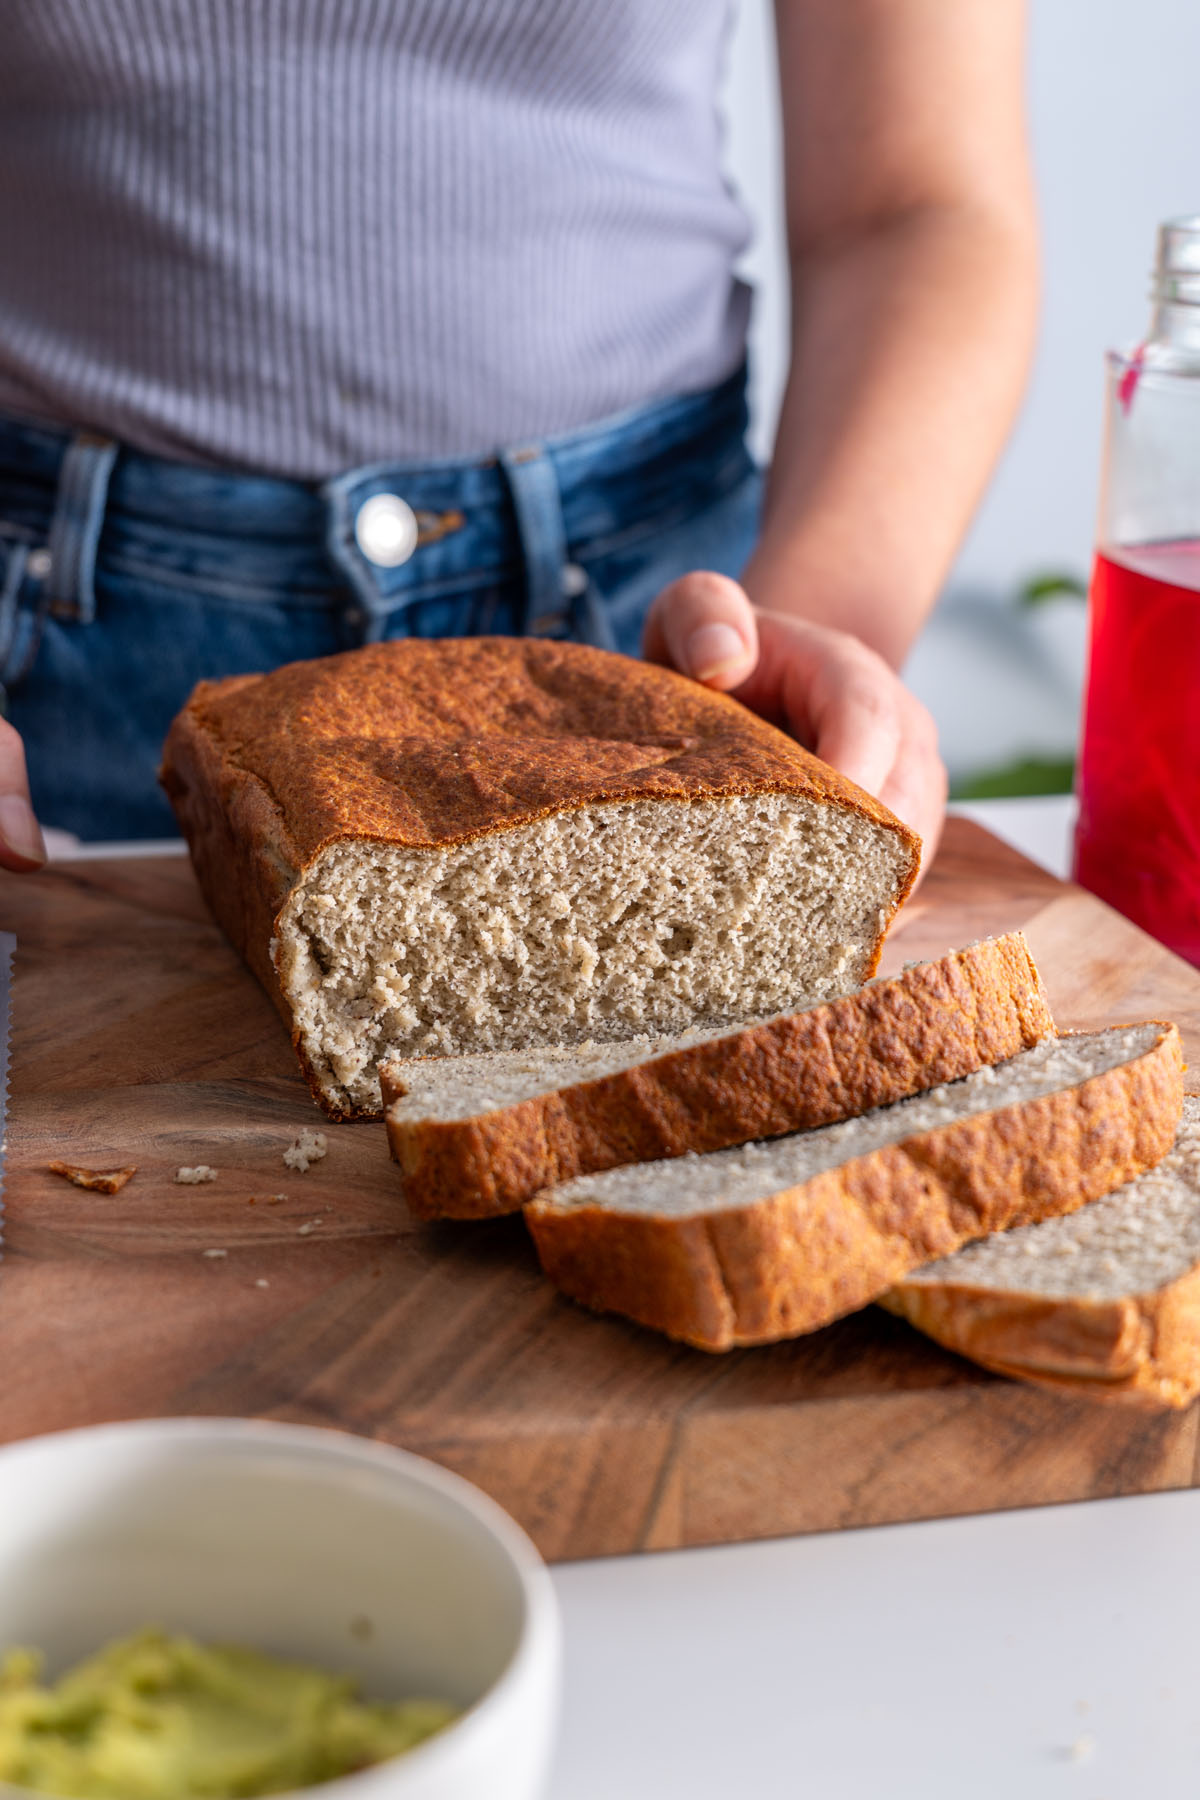
This 1-Ingredient Gluten-Free Buckwheat Bread recipe is an absolute game-changer! I’ve been making it every single week since early 2022, and it never disappoints! It’s incredibly easy, delicious, and super nourishing. I highly recommend throwing a couple of slices in the toaster/oven to create the ultimate avocado toast or as a side dish for dipping into soup. It even makes amazing croutons in a salad!
Since sharing this recipe with our community on social media, it’s become one of our most popular recipes to date. Hundreds of our community members have shared their versions with us on Instagram. Check out our Buckwheat Bread Instagram Highlights to see just a sample of the ones we’ve received, and please make sure to share your own! If you’re in interested in more gluten-free bread recipes, you’ll also love this super fluffy Red Lentil Quinoa Bread!

Ingredient Notes
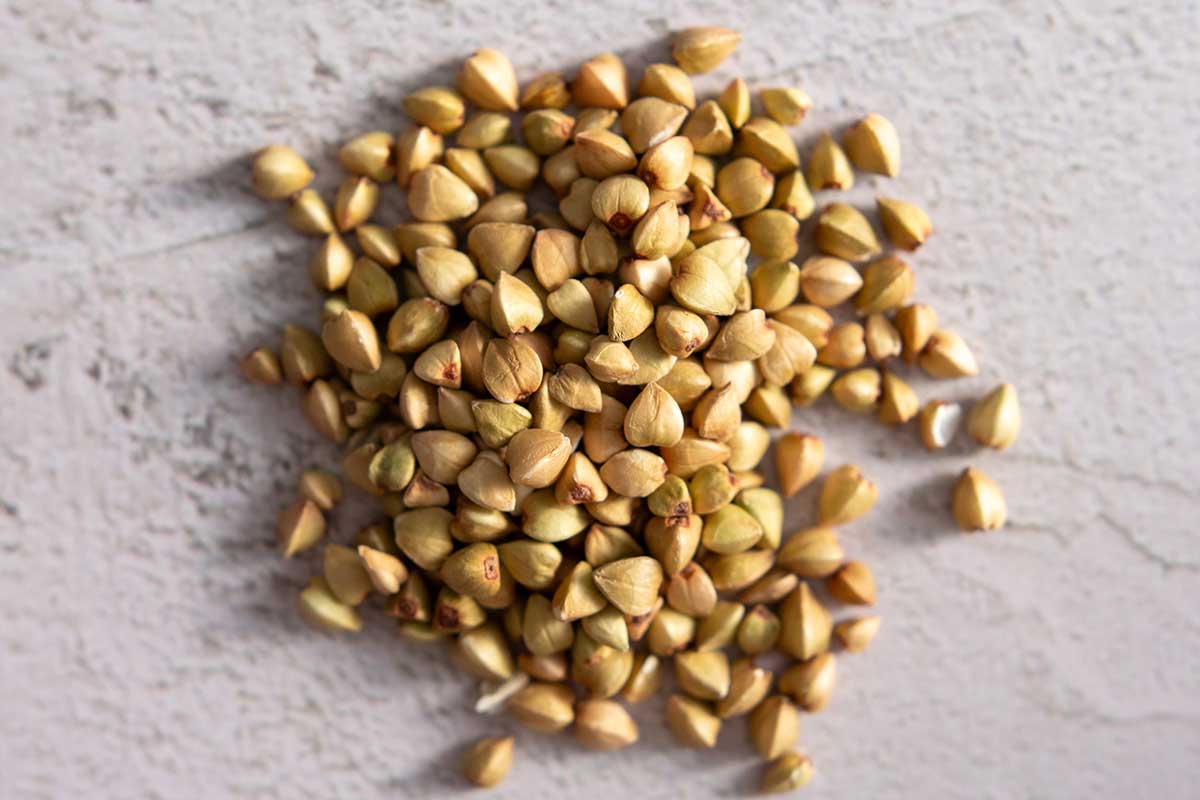
- Hulled Raw Buckwheat: Buckwheat groats (or kernels) are the hulled seeds of the buckwheat plant. Despite their name containing the word “wheat,” buckwheat is actually gluten-free and makes for a fantastic bread ingredient. These groats are a staple in many Eastern European and Asian cuisines, known for their nutty flavor and versatile use. This Healthy Buckwheat Bread Recipe is a testament to that.
- Water: Tap water is fine to use depending on your location, if the water is heavily chlorinated in your area, you should choose filtered water, as chlorine will impact the fermentation.
- Salt: Either sea salt flakes or table salt works fine. The salt enhances the natural flavor of the buckwheat.
- Poppy and Sesame Seeds: Adds a delightful crunch and visual appeal to the bread. They are optional but highly recommended for an extra touch of flavor and texture. You can top it with any seeds you like.
IMPORTANT: Use ONLY hulled, non-roasted buckwheat for this recipe. Buckwheat flour, unhulled buckwheat, activated buckwheat, or roasted buckwheat will not work in this recipe.
Why You’ll Love This 1-Ingredient Buckwheat Bread Recipe
- Delicious and Dense: It’s absolutely delicious, with a dense, satisfying texture, and gets even better when toasted! Fermentation not only enhances the flavor, but it can improve the bioavailability of certain nutrients in foods. Specifically, the fermentation process can reduce levels of phytic acid, which is known to bind some minerals and reduce their absorption. By breaking down phytic acid, fermentation can make minerals like iron, zinc, and magnesium more available for absorption by the body.
- So Easy: Although the fermentation process takes a bit of time, this recipe is very hands-off and only requires about 10 minutes of actual work. If you use the right kind of buckwheat, a high-speed blender, and follow the instructions, this simple, yeast-free bread recipe is practically foolproof.
- Cost-effective: Good quality, nourishing, gluten-free bread can be quite expensive where we live, often costing around $15 AUD (~ $9.80 USD), whereas this Gluten-Free Buckwheat Bread comes in at under $3.50 AUD (~ $2.30 USD), even when using organic hulled buckwheat.
- Meal-Prep: Easy to prep in advance and can be frozen. I usually keep half fresh, wrapped in a clean kitchen cloth, to consume in the next few days and slice and freeze the rest. Toast when ready to eat, and it’s as good as fresh! This way, you can toast a piece whenever you crave some delicious bread.
What Are the Health Benefits of Buckwheat?
- Buckwheat is highly nutritious, offering a source of fiber and essential minerals, especially magnesium. It’s also packed with antioxidants, particularly rutin, which supports blood vessel health. Despite its name, buckwheat is naturally gluten-free, making it suitable for those with gluten intolerance or celiac disease.
- Buckwheat’s low to medium glycemic index makes it a good choice for those managing blood sugar levels. Plus, its high fiber content aids in digestion.
- Like amaranth or quinoa, these whole grain groats can be cooked like rice or oats, making them a fantastic ingredient for various dishes. From traditional porridge and pilafs to modern salads and even as a rice substitute, buckwheat is incredibly adaptable. It’s also used in making buckwheat flour, a popular alternative for gluten-free baking. We use buckwheat flour to make these High-Protein Buckwheat Pancakes with Blueberry Syrup, and they’re so fluffy and delicious!
Step-by-Step Instructions
Rinse the hulled buckwheat kernels under cold water until clear. After rinsing, soak 17.5 oz (2.6 cups or 500g) of buckwheat in cold water in a large bowl, fully submerged, and cover with a clean cloth for 6 to 7 hours.
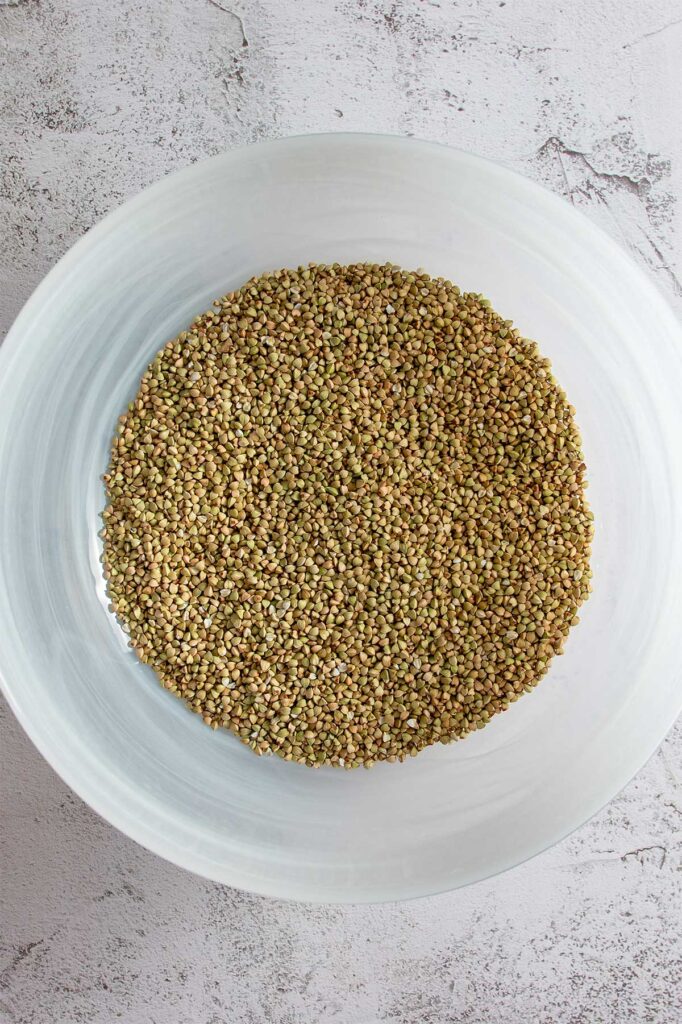

Once soaked, drain the remaining water, but do not rinse.

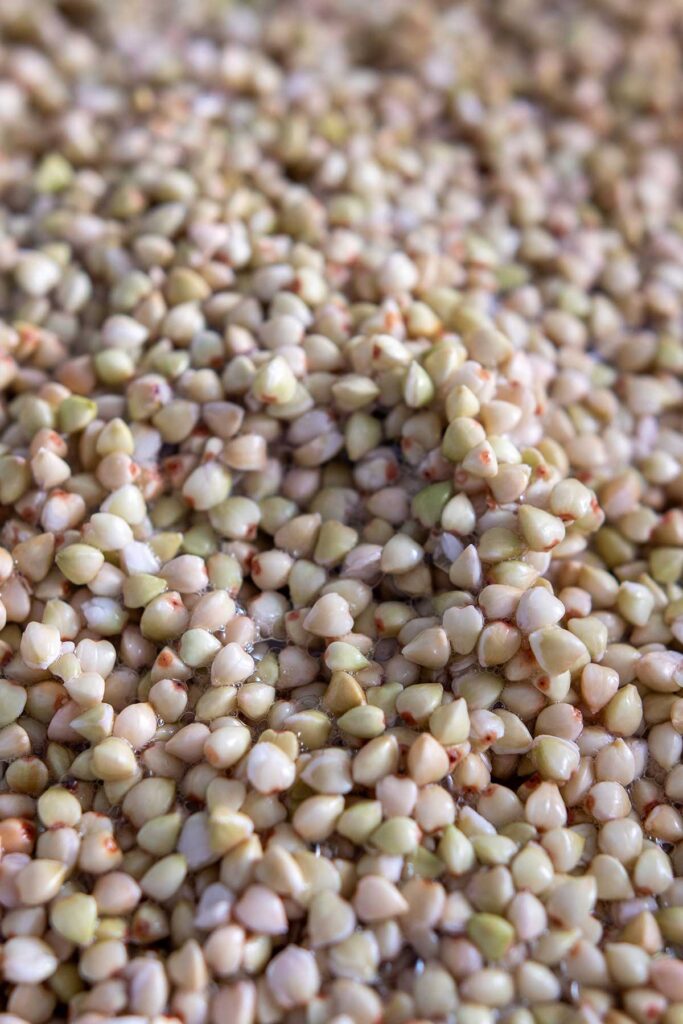
Transfer to a blender with 6.8 fl oz (0.9 cups or 200 ml) of water and ¼ tsp salt. Blend, starting at low speed and slowly increasing, until you get a very smooth texture without any pieces left. Pour the blended buckwheat mixture back into the bowl.
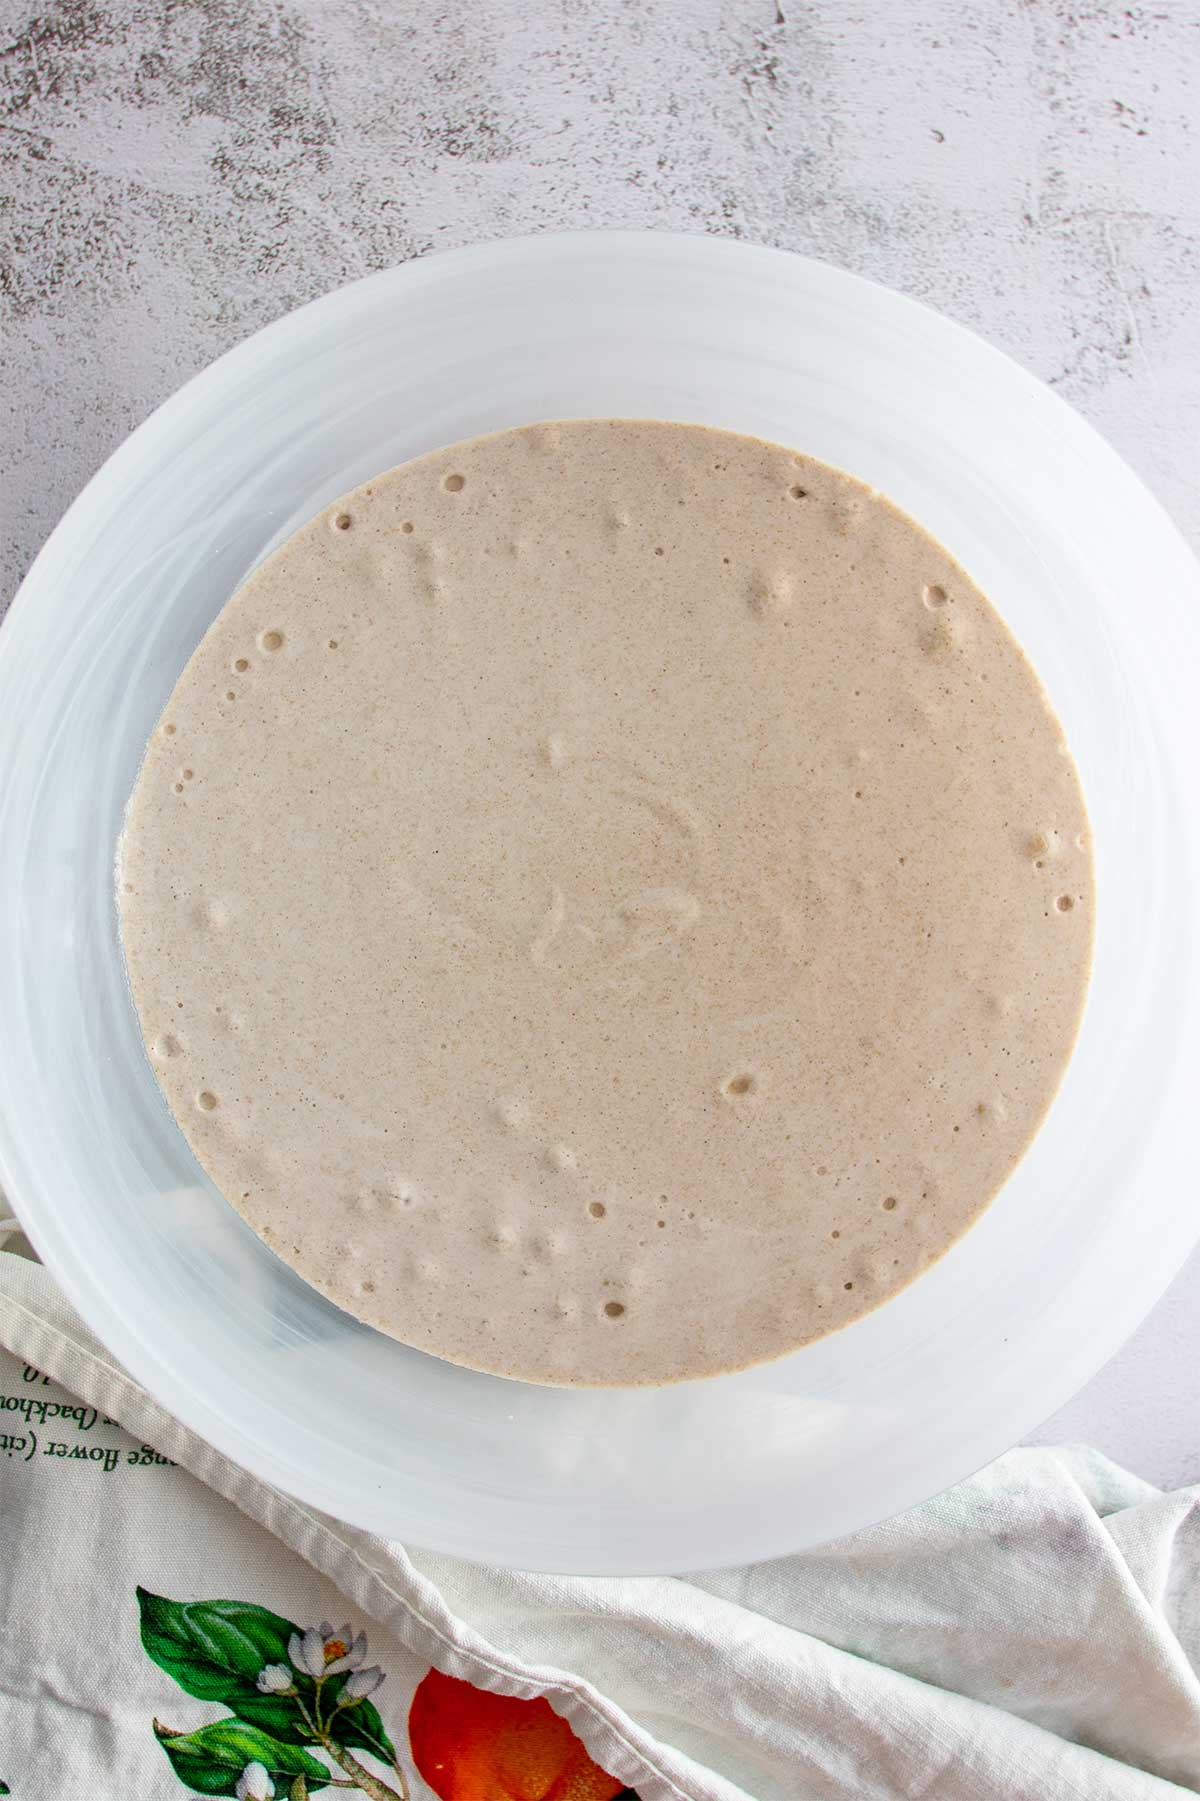
Cover it again and let it sit at room temperature for 12 to 24 hours to ferment. Please check the fermentation table below to confirm the time required based on your current climate.
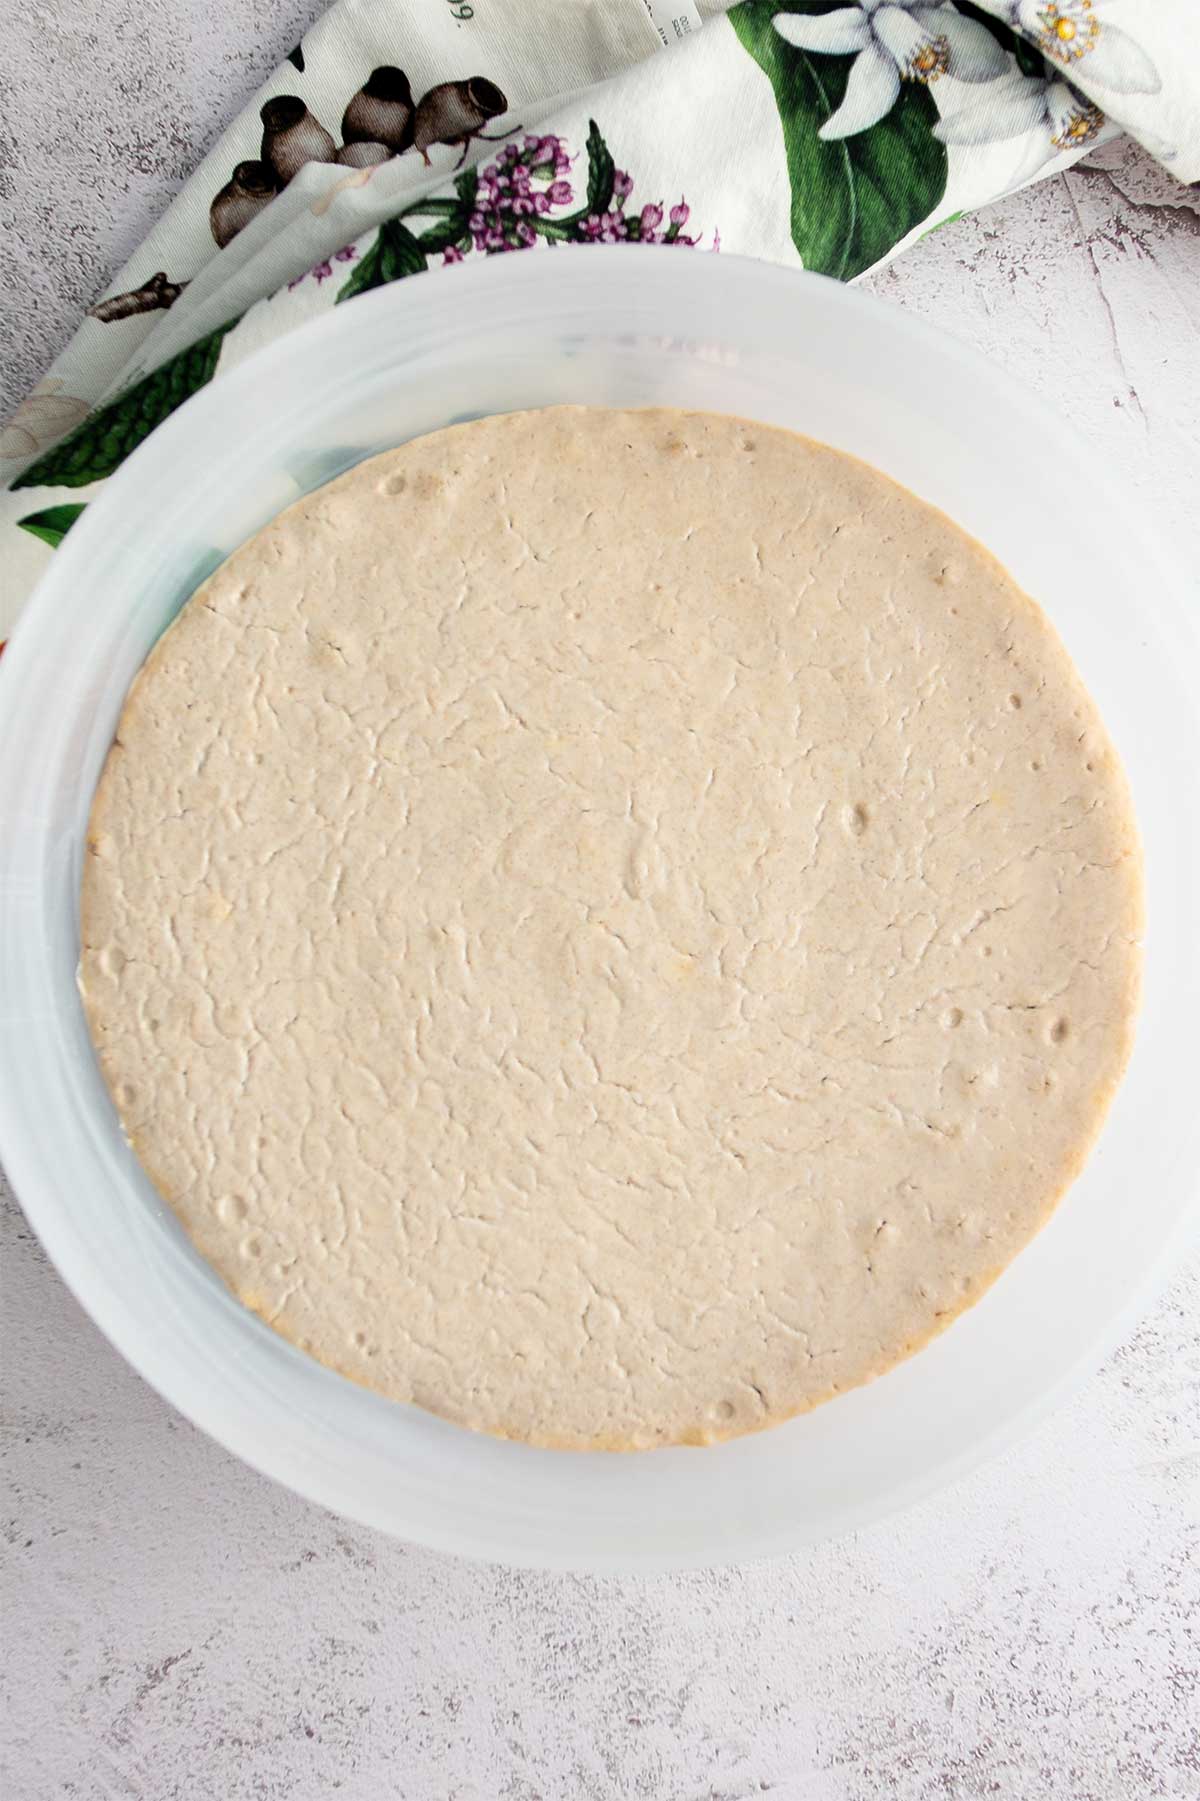

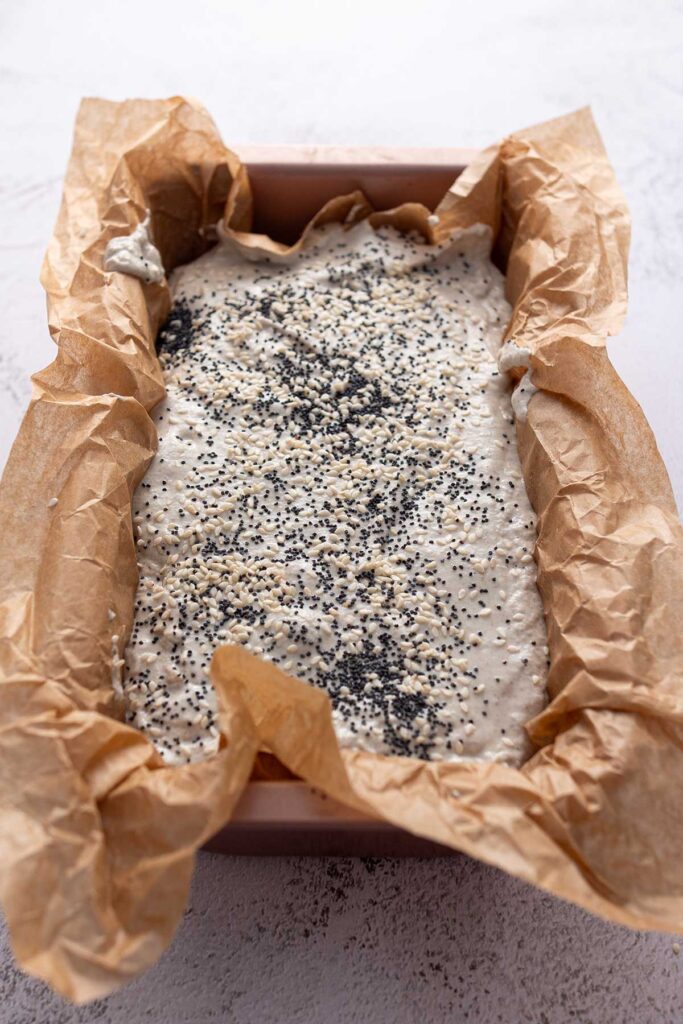
When you’re ready to bake, preheat your oven to 350°F. Line a loaf pan with baking paper and pour the fermented buckwheat dough into the pan. If you’d like, sprinkle the top with 2 tsp of poppy and sesame seeds (or whichever toppings you’d like).

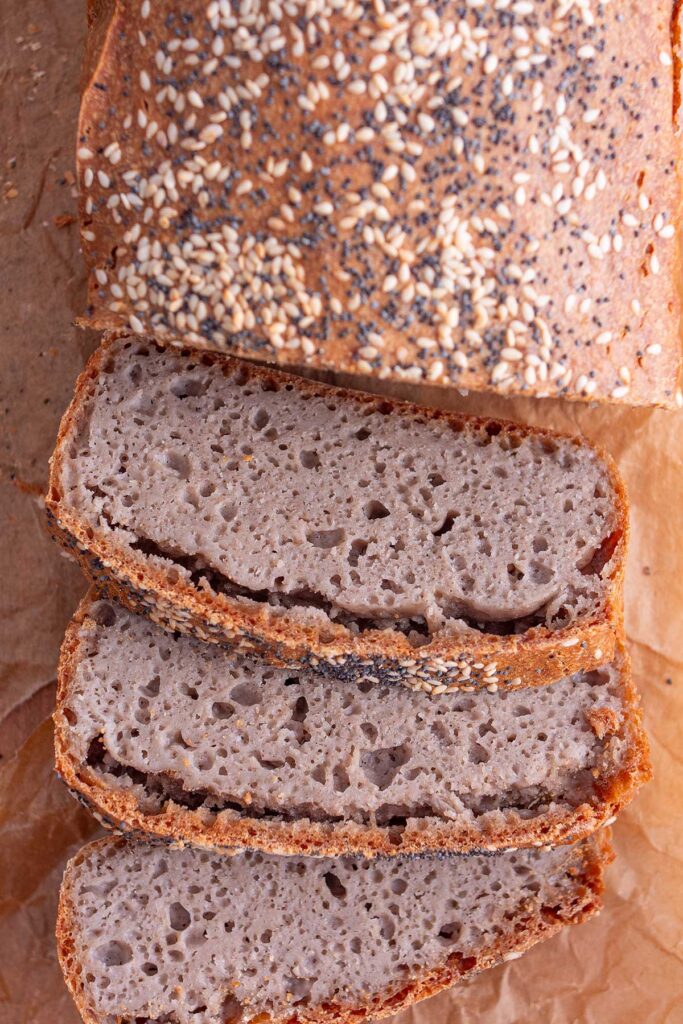
Bake the bread in the preheated oven for 90 minutes. The bread should be golden brown and firm to the touch.


Allow the bread to cool down before slicing. This makes it easier to cut and improves the texture. Enjoy your homemade, nourishing, gluten-free buckwheat bread!

How Long to Ferment Your Buckwheat Bread Based on Your Current Climate
🌨️ Colder (Winter)
Indoor temperature range: ~70°F (20°C)
Soak: 6–7 hours
Fermentation time: Up to 24 hours
Note: If the temperature is lower than 70°F (20°C), place the bread in a warm spot or near a gentle heat source to help it ferment.
☀️ Warm (Summer)
Indoor temperature range: 75–85°F (25–30°C)
Soak: 6–7 hours
Fermentation time: Around 12 hours
Note: A warm environment speeds up fermentation, so check the texture after 10–12 hours.
🔥 Very Hot
Indoor temperature range: Above 85°F (30°C)
Soak: 6 hours
Fermentation time: As little as 6 hours
Note: The hotter it is, the less time needed. In extreme heat, soak the buckwheat in the fridge for 6 hours only.

1-Ingredient Buckwheat Bread (Nourishing and GF)
Equipment
Ingredients
- 17.6 oz (500 g) hulled buckwheat kernels (2.6 cups) - MUST be hulled, raw buckwheat kernels/groats for this recipe to work
- 6.8 fl oz (200 ml) water (0.9 cups)
- ¼ tsp (1.5 g) sea salt flakes
- 2 tsp (4 g) poppy and sesame seeds - optional
Instructions
- Rinse the hulled raw buckwheat kernels under cold water until the water runs clear. This ensures that any dust or impurities are removed.
- Transfer the rinsed buckwheat to a large bowl. Cover the kernels with a large volume of cold water, ensuring they are fully submerged. Cover the bowl with a clean cloth and let it sit for 6 to 7 hours.
- Once soaked, drain the water, but do not rinse the buckwheat kernels. Transfer them to a blender with 6.8 fl oz (0.9 cups/200 ml) water and the salt. Blend, starting at low speed and slowly increasing until you get a very smooth texture without any bits and pieces of buckwheat remaining.
- Pour the blended buckwheat batter back into the bowl. Cover it again and let it sit at room temperature for 12 to 24 hours (please see notes to determine how long you should leave it to ferment based on your climate). Once fermented, you will notice a very slight rise, and the mixture should be slightly bubbly inside.
- When you're ready to bake, preheat your oven to 350 °F. While the oven is heating, prepare a loaf pan by lining it with baking paper.
- Pour the fermented buckwheat dough into the prepared loaf pan. If using, sprinkle the top with poppy and sesame seeds.
- Bake the bread in the preheated oven for 90 minutes.
- Remove the bread from the loaf pan and let it cool completely before slicing. This is important to get the best texture. Now, enjoy your homemade, healthy buckwheat bread!
Video
FAQ
This depends on your location and current temperature, as fermentation is temperature-dependent. Colder climates will need a longer fermentation, and it can be shortened as the temperatures rise during the year, as the heat accelerates fermentation.
For colder climates (winter, with an indoor temperature of approximately 70°F (20°C)), ferment for 24 hours. If your indoor temperature is below 70°F (20°C), you can try leaving the batter in the warmest place in your house to give it the best chance of fermenting.
For warmer climates (summer with an indoor temperature between 75 – 85°F (25 – 30°C), I’d recommend starting with 12 hours of fermentation. We have tested this recipe in both summer and winter in Sydney Australia, which remains a pretty temperate climate. Depending on where you are in the world there might be a little bit of experimenting to figure out the perfect timing, but I promise it’s well worth it!
Some people from our IG community in more exotic locations with hotter and more humid climates have reported good results with as little as 6 hours of fermentation. If this is the case for you, start with 6 hours of fermentation and monitor the dough to avoid over-fermenting. The dough will have a slightly raised appearance and be a little bubbly inside when ready to eat.
Yes, fermentation does have a specific smell, which will be reduced when baking. Over soaking the buckwhat will result in a unpleasant smell, so keep it to 6-7 hours soaking time on the kitchen counter or in the fridge for extremely hot and humid climate.
Yes, it’s completely gluten-free.
This recipe only works with HULLED, NON-ROASTED buckwheat groats.
Unfortunately, it won’t work for this recipe.
It stays fresh for up to 3 days in a sealed container or wrapped in a kitchen cloth. I like to slice half straight away and freeze it to make the most of it.
Yes, slice and freeze for up to a month.
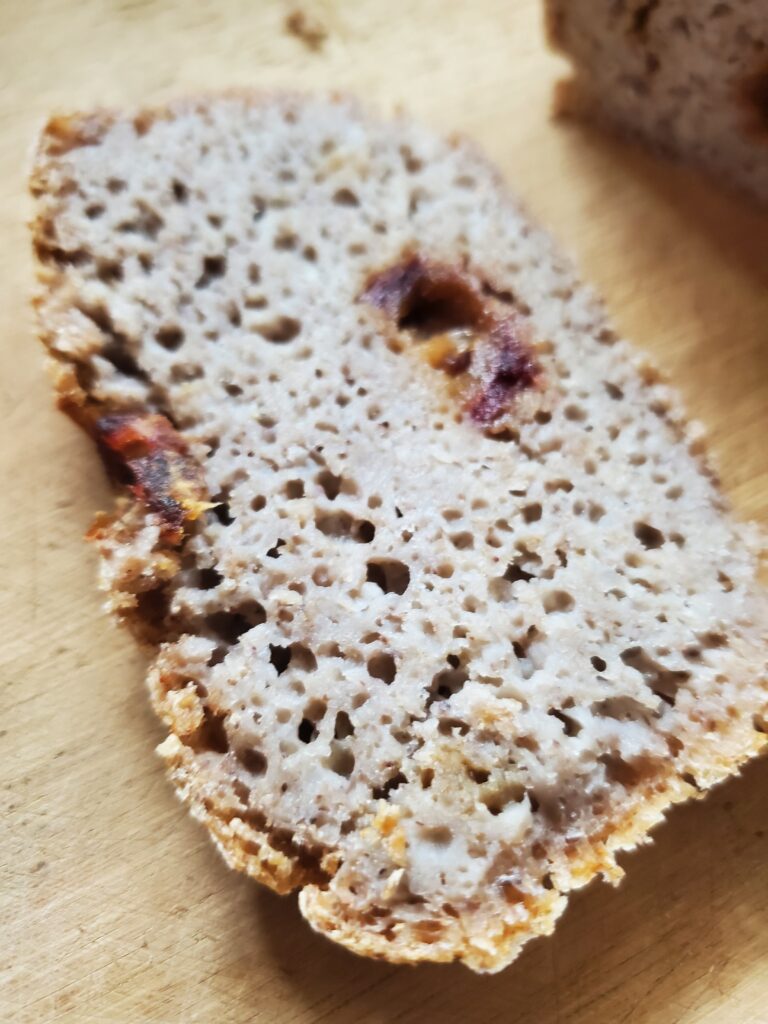
While the base recipe only requires one ingredient and cannot be swapped, you can certainly add other ingredients to customize the bread to your liking. Consider adding seeds, nuts, dried fruits such as dates, or spices for additional flavor and texture. I love a mix of black olives (pitted!), rosemary, and walnuts! Just remember to add these extras after the fermentation process and before baking. I however recommend tasting the bread without any ad-ons first, to make sure you have the perfect fermentation time, and know what to expect in terms of taste and consistency. Then, feel free to experiment with these additional ingredients to achieve your desired balance of flavor and texture.
You can; it will still work, but I find it provides a much-needed touch to the flavor of the bread.
It has a very slight rise – it’s quite different from yeast fermentation. Don’t worry if it looks like your dough hasn’t risen much – it will still work.
If that’s the case, I would recommend rinsing the buckwheat as it might develop a bit of a smell otherwise. It’s still fine to consume. We recommend not to rinse in our recipe, as when we tested it, we got a slightly nicer texture once baked, but it still worked when rinsed.
They are fine to leave on the counter. However, if it’s too hot or humid where you are, you can place them in the fridge. Leave out of the fridge for the fermentation part.
If you slice it before it cools down, it will just have a mushier texture.
If your indoor temperature is lower than the one we have mentioned, it might need to be fermented longer. Use filtered water if the water in your area contains a lot of chlorine, as this will negatively impact fermentation. Someone in the community also mentioned fermenting the dough directly in the loaf pan as a tip to get it to rise even more.





Hi. Thank you for this recipe!
I am from Denmark, and follow a alternative practitioner, whom recommends this.
This is the most delicious bred! Wow!
The chunchy crust, at the soft middle.
I snack this with a slice of cheese.
Tanks again 😍
Wow it’s so special that your practitioner recommended the bread 😍 I’m so happy you liked it!
Hi!
Love your recipes!
I couldn’t find the temperature at which we bake this bread. Can you please mention😊
So happy you’re enjoying the recipe 💚 The temperature is 350F / 175 C (mentioned at step 5). Hope you love the bread 💚
Delicious and moisture bread, but you have put a flavoursome topping on
I would make it again and it’s a healthy option for diabetics
Thanks for sharing Hardeep, I’m glad you loved it!
Hi! So I just realized that the raw buckwheat groats I purchased to try out this recipe that are currently soaking on my counter are unhulled. Any suggestions to salvage this? Do I just go thru the same steps and hope for the best? Thank you!
Hi lovely, unfortunately this recipe won’t work at all with unhulled buckwheat, it won’t cook properly and will stay mushy. You could try sprouting them instead, as they are already soaking?
I keep on coming back to this recipe and have made it many times. Usually, two loaves at a time because they make great gifts. It is brilliantly simple and so delicious. Thanks so much for sharing this with the world!
That makes me so happy! I love that you are gifting the bread, it’s so special 💚
Hi!
I made this bread for the first time. The smell was very strong after the fermentation process. I baked it as directed and the texture is great but the smell stayed with the taste…not pleasant! Do you think less soaking time or less fermentation time? I am excited to get the process down to a repeatable process as I tasted a friend’s bread and it was delicious!
Thank you!
Hi Mimi, I’m so glad you got the texture perfectly! Over soaking the buckwheat results in a fishy smell, so make sure to keep it to 6 to 7 hours, if it’s hot where you are, soak them in the fridge. If you’ve already done that, then it might have been over-fermented, in that case, reducing the fermentation time will help 🙂 Some people in very hot and humid areas have reported fermenting it for as little as 6 hours with good results. Let me know how you go next time 💚
I love most of your recipes but this one is one of my favourite!
Merci beaucoup for sharing it with us.
Avec plaisir Ines 💚 So happy you’re enjoying it 💚
Hi, I’ve just tried your recipe, it’s in the oven now. For some reason, my brain blipped and I only baked it for 50 minutes. It looked lovely, though it did crack right through the middle. Once I realised my mistake, I put it back in the oven. It was out for maybe 15 minutes. I added about 10 minutes as that’s how long it took to come back to temperature. Do you think this will be okay? Or should I stick to only the extra 40 minutes to total 90 minutes? I realise I may not get a response in time. I also put everything bagel seasoning on top, home-made mix without salt. I used 1 Tablespoon of miso instead of the salt in the dough, so far, that seems fine. Thanks so much for an amazing recipe!
Hi lovely, sorry—I’ve only tried cooking the recipe without any interruptions. I think it was smart to add a bit of extra cooking time while the oven temperature came back up! How did it go?
I love the miso idea—I’ll have to try that myself 😍
I’m going to try your recipe today….however in the interest of it being less heavy I think I will add an egg, some yogurt and a pinch of sweetener w/ the salt, maybe even a pinch of baking soda (to interact w/ the acid in the yogurt). have you tried this variation yet? as long as the consistency is good (adjusting the water) I think it might work.
Hey Debra, I’ve only tested the recipe as written. You’re looking to make quite a few changes—I’d recommend trying it as is first, so you know what to expect with the fermentation. I’m not sure it would be safe to ferment the eggs and yogurt for 24 hours 🙂
Hi there, question! I forgot to set a reminder and accidentally left the buckwheat kernels out to soak for 24 hours. I went ahead and blended/fermented anyway, and the bread is baking right now, but the smell is pretty rough. Should I throw it away, or is it safe to eat?
btw – I’ve been making this twice a week for the last month, and it’s been a huge success, especially for my GF diet, so thanks for the recipe 🙂
Hi Ameet, I’m so happy you’re enjoying the bread! If there’s a strong smell, it can sometimes happen from over-soaking the buckwheat. If it smells unpleasant, I wouldn’t eat it. Next time, I recommend soaking the buckwheat in the fridge—this slows down any smell from developing, and you can still use them without any issues. I tried after 24 hours ion the fridge once (read I forgot to blend them haha) and it was fine 🙂
Hi. I think I have over fermented the bread. It does have a funny smell. Will it be still ok to eat once cooked?
Hi Gemma, fermented buckwheat has a strong smell, but if it smells fishy, it means it’s over-fermented, and I would recommend discarding it 💚 Over soaking the buckwheat can also result in an unpleasant smell
Wonderful recipe. Since I have lot of health issues, my dietician has asked me to be gluten free. She shared this recipe with me. It has been a great addition to my breakfast. My boys also love this bread (which is bonus for me). Can you tell me how to store the bread for a week?
I’m so happy to hear the bread is helpful to you 💚 I would not recommend keeping it for a week, If you don’t finish it within a few days, I would recommend to slice, freeze it, and reheat as needed for the best texture 🙂
Hello Sarah, thank you so much for the recipe. It seems very tasty and healthy. Therefore I am preparing my first loaf and have just blended all. Now I wonder on which oven mode/setting I should bake the bread. Convential top and bottom, fan, other? Please let me know 🙏🏻 All the best, Danny
Fan on 🙂 hope you love it!
Hi can I use activated buckwheat?
not for this recipe 🙂
Curious if anyone has tried making this with any grain other than buckwheat? Buckwheat products are very common where I live as it is a buckwheat-growing region, but oddly the one product you can’t find here is raw groats. Meanwhile I have a bag of whole sorghum grains that I don’t know what to do with. Wondered if I could try this method with sorghum?
I’ve only tried it with quinoa and barley wheat and did not have good results, let us know if you try it 🙂
Great recipe! Turned out lovely here in cold Estonia, think I fermented for about 24. Actually let it soak for at least 15 hours as well, because I didn’t read the part where I wasn’t suppose to soak for longer than 7hrs haha, oops! Glad it turned out yummy anyways.
Question: are there any other benefits from using a buckwheat flower recipe apart from less ingredients and vegan,gf? I saw that the fermentation is a benefit as well, but could you ferment buckwheat flower to keep those benefits?
Thanks!
Thank you Carmel! Flour unfortunately won’t work for this recipe, but if you have some to use, search “pancakes” I have some delicious recipes using buckwheat flour 🙂
Thank you for your reply Sarah! I am thinking that if it didn’t work with quinoa, wheat, and barley, it probably won’t work with sorghum either. Buckwheat is fairly soft and quick-cooking, especially compared to “true” grains such as sorghum or wheat. I’m afraid the sorghum would not be too tough to soak up the water well whole. Fortunately my brother found whole buckwheat groats at a store, so I can try it out properly. I guess I’ll use my whole sorghum grains as a substitute for barley in soup or something.
That sounds like a great idea 🙂 I hope you love the bread!
Success the first time I made it! Love this recipe and your detailed instructions. I’m new to buckwheat, I’ll be making this every week. Thank you!
So happy to hear that lovely! 💚
I live in a cold climate. My house is about 65 degrees fahrenheit. I started later in the day than expected. Once blended, if I leave it to ferment in the oven with the oven light on, can I reduce that time to 6 hours?
I’m not sure what temperature your oven would be, but it would most likely be longer than that, 6 hours is for very hot and humid climates. It would probably be closer to 20 hours, but it’s hard to tell without being there with you, let us know how you go 🙂
Tried it today for the first time, as always with your recipes… loved it!
Sorry if this has already been replied (wow, congrats! +300 comments!!!) but I was wondering if it would be possible to add something to the mix, aside from the topping, to add a bit of extra protein to the mix (maybe a bit of your pumpkin+sunflower butter? Or even flavourless protein powder?) but I am dubious as if this could affect the oven process.
Have you tried anything like that?
By the way, I have had guests a couple of times this week and they have all LOVED your recipes 😎 THANK YOU!!!
Hi lovely, so happy you liked it! What did you make for your guests? 😍
About the bread, I don’t think adding nut butter directly into the batter would work. You can add whole (or roughly chopped nuts), mix them into the batter 1 hour before baking, and then let the batter rest in the loaf pan for another hour. I also like to put olives in there!
About the protein powder that’s a very good question, I might have to try and get back to you on this one!
Good morning , when I leave it to ferment , can I place a paper towel and dish over the bowl to cover ?
Yes I’m sure that would be fine 🙂
Just tried making it, followed instructions exactly, toothpick check after 90 very wet/gummy, tried cooking for additional 25 mins, no change. wet/gummy all the way through minus crust. Its winter but 20 degrees in house, soaked for 7 hours and fermented for 24. Any idea why this was a huge swing and a miss for me?
Thanks
Hi Paul, sorry to hear that! I don’t recommend using a toothpick to test this recipe. The bread needs to be completely cooled before cutting; otherwise, it will still have a wet texture.
If you want to give it another go, try letting it ferment in the oven with the light on—it will retain more warmth and prevent temperature fluctuations that can sometimes happen without us realizing. Using filtered water can also help, as chlorine can hinder fermentation.
Hope that helps 🙂
It is wonderful of you to answer all these questions! I have Crohn’s disease and having made the bread I LOVED it and don’t want to give it up but I believe the musilaginous nature of the groats is harmful to me. I am wondering if it is worth a try to rinse it after soaking and then add gelatin to it before blending to help bind it. I have also read that adding something like apple cider vinegar to water when soaking can be helpful in neutralizing the phytic acid. thanks so much Andrew
Hi Andrew, thank you for the kind words! I would first try to rinse the buckwheat thoroughly after soaking and see if you’re happy with the texture. I’ve done it many times (habits of rinsing everything 😂) and it comes out fine, just a small change in texture. Let me know how you go 💕
Hi
I can’t wait to try this bread! My batter is (hopefully) fermenting as I type.
If I make little buns instead of a loaf, how would I need to adjust the cooking time please?
Thanks 🙂
Hi lovely, yes you will probably be able to reduce the cooking time, although I’m not sure by how much. I would recommend making it as written the first time so you know what to expect 🙂
I have not tried making it yet but I love the concept of fermenting it without added yeast and just using what’s naturally in the air or already on the surface of the buckwheat groats. Essentially this is like how a wheat sourdough bread is made which has that wonderful tangy taste. Thank you for taking the time to share your discovery with the rest of us!
Thank you for your lovely message Brien, hope you love the bread 💚
My new favourite bread. Thank you! I made it just as written, as you suggested for the first time. This time I’m making 3 loaves but will be adding a touch more salt, raisins, pumpkin seeds and perhaps a touch of monk fruit.